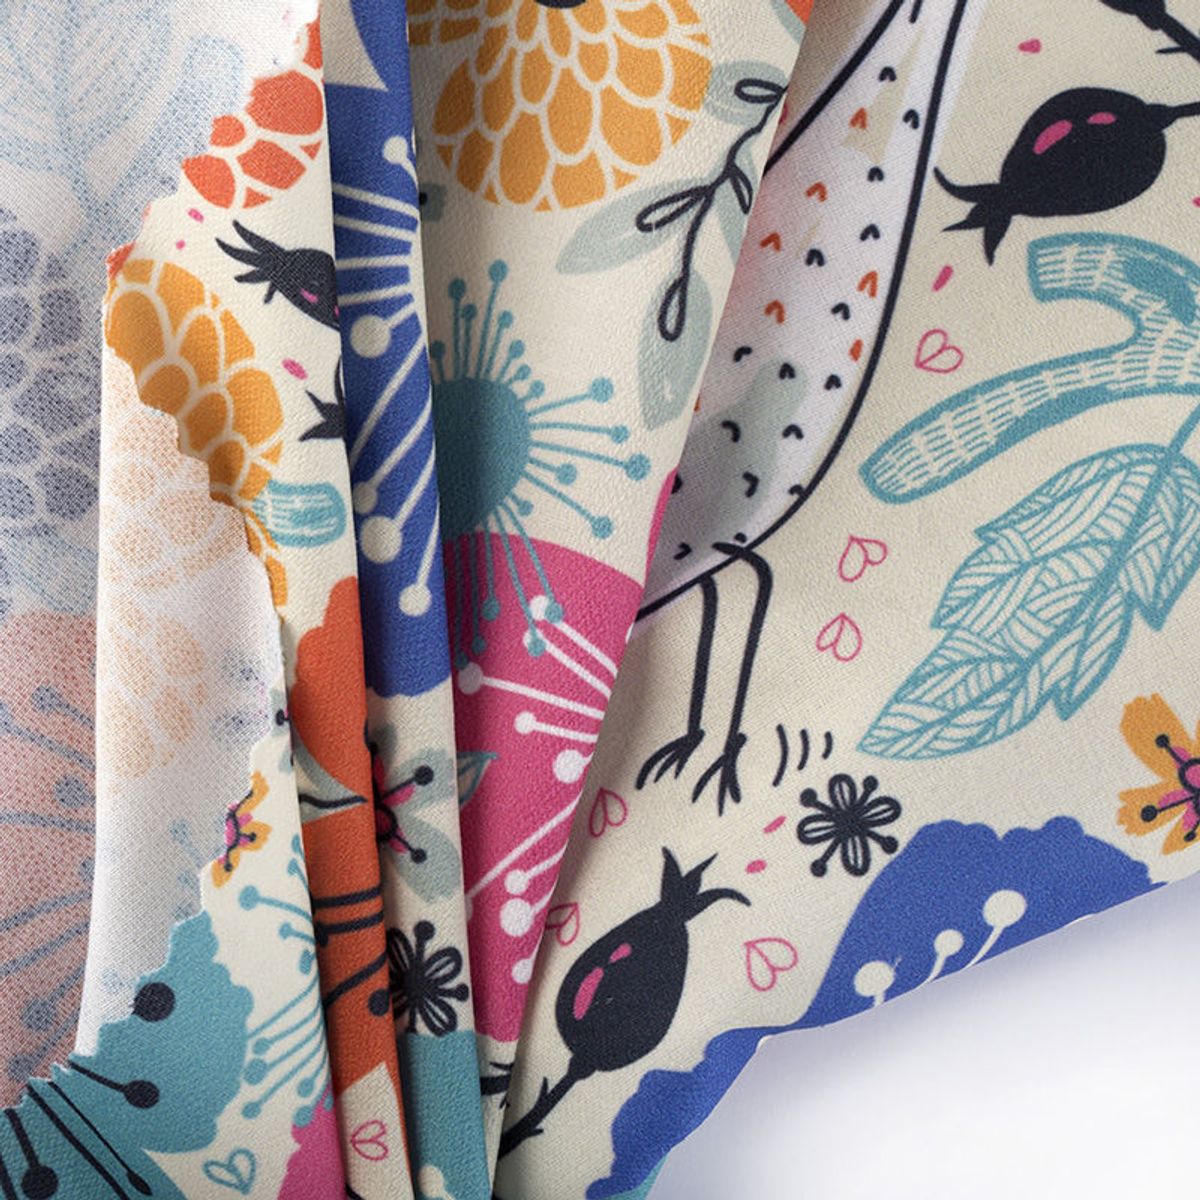
Range of Lampshade Fabrics
Browse our range of lampshade fabrics
-
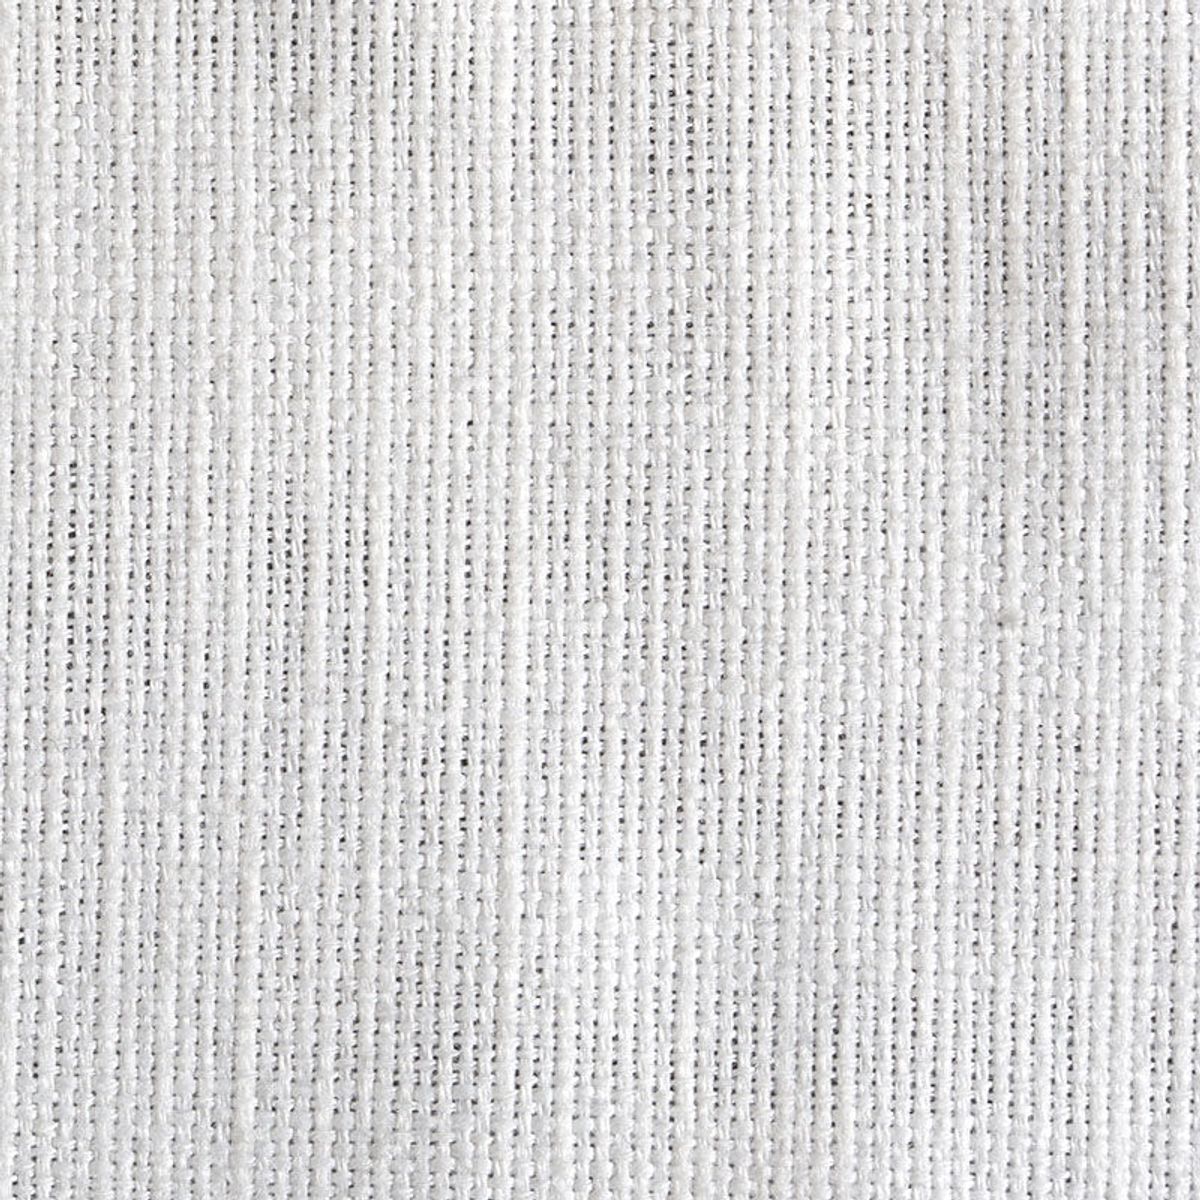
![Dorchester Linen Look FR]()
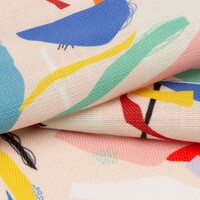
Dorchester Linen Look FR
-
Max Print:
1.36m
-
Weight:
231gsm
-
Roll Width:
1.38m
Medium weight, stiff and non-stretch, coarse and sheer
Composition:100% polyester
-
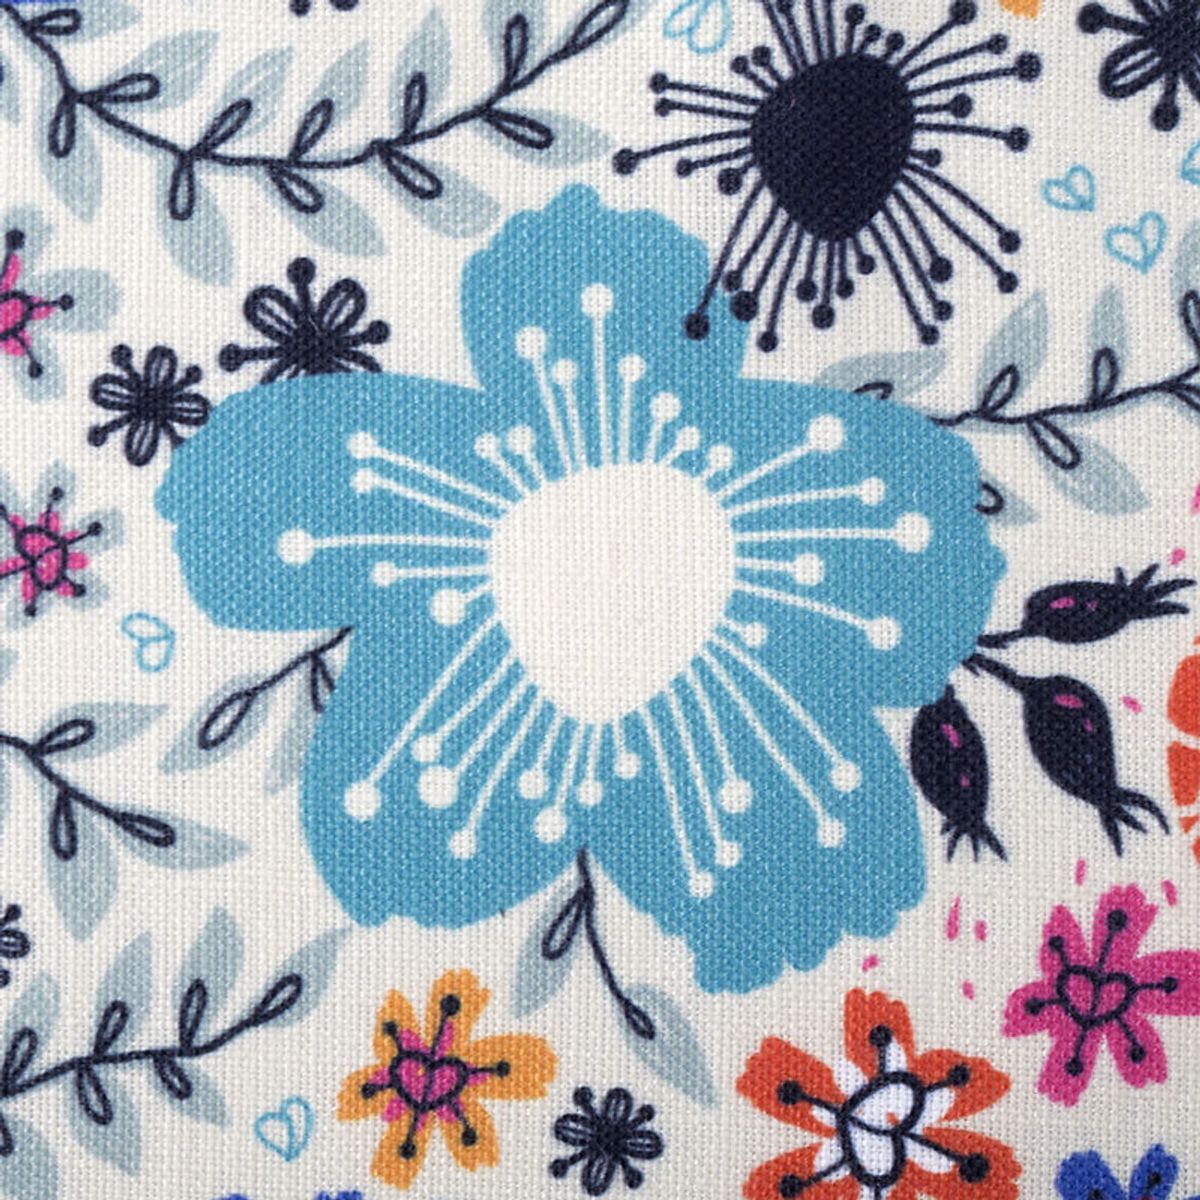
![Cotton Twill Pigment]()
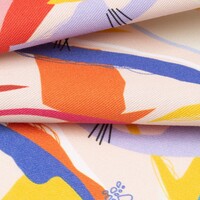
Cotton Twill Pigment
-
Max Print:
1.45m
-
Weight:
213gsm
-
Roll Width:
1.47m
Medium weight, soft and non-stretch, opaque
-
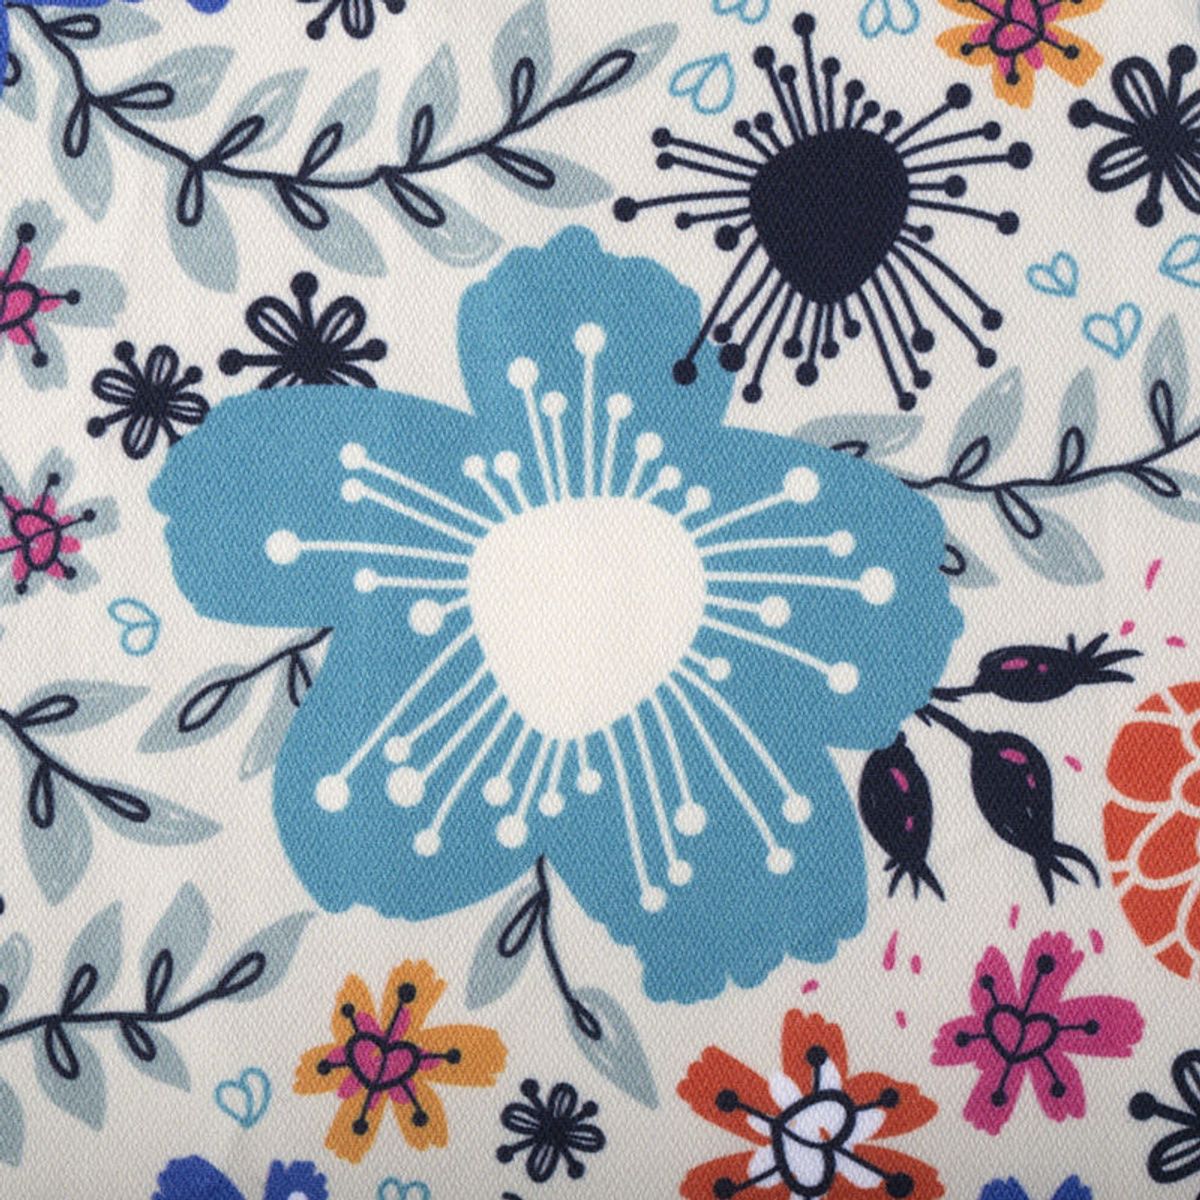
![Cotton Calico Organic]()
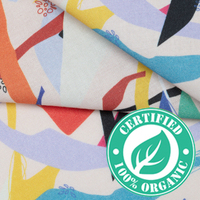
Cotton Calico Organic
-
Max Print:
1.46m
-
Weight:
152gsm
-
Roll Width:
1.48m
Medium weight, soft and non-stretch, coarse and sheer. Slightly muted colours with warm vintage finish. Colours sit on top of fabric.
Composition:100% cotton Pigment Inks
-
![Furnishing Leatherette FR]()
Furnishing Leatherette FR
-
Max Print:
1.35m
-
Weight:
600gsm
-
Roll Width:
1.37m
Heavy weight, textured and non-stretch, opaque, fire rated
Composition:90% pvc 5% polyester 5% cotton
Expected Shrinkage = Warp: 0.75%
-
![Chichi Furnishing Velour FR]()
Chichi Furnishing Velour FR
-
Max Print:
1.35m
-
Weight:
280gsm
-
Roll Width:
1.37m
Heavy weight, soft and non-stretch, opaque, fire rated
Composition:100% polyester
-
![Plain Weave FR Polyester]()
Plain Weave FR Polyester
-
Max Print:
1.4m
-
Weight:
145gsm
-
Roll Width:
1.42m
Plain Weave FR Polyester 145gsm
Composition:100% Polyester
Care instructions
Wash at 30°C, low tumble dry heat, hang to dry, do not wring, low heat iron.
What is Lampshade Fabric?
Lampshade fabric material was developed to hide the light source and provide atmosphere to a room Originally lampshades were created to project light, often created of semi-spherical reflectors that were placed inside oil lamps to help the light shine further, used in the late 17th century. in the 19th century when lighting was mass produced as gas in a factory and distributed out, the air became overheated, and the gases used and created meant that the rooms needed ventilating; at this point, lampshades were used to attenuate the light rather than to direct it. The invention of the incandescent filament electric light bulb in 1879 saw lampshades start being used in the way that we recognise them today; this was done to disguise the intensity of the electric light. Lampshades tend to be made from fabric, glass, paper or plastic; popular lampshade fabrics include silk, linen and cotton. Custom printing lampshade fabric suppliers are rare so try a swatch or test our heat resistant fabric for lamp shades now.
How to Make a Lampshade Cover with Fabric
This is arguably the simplest way to create custom made fabric lampshades as a DIY project and can be done in a few simple steps.
Step 1: Choose a base
This can be either a plain lampshade fabric material, preferably in white or cream, or it could be a specifically designed inner material for a lampshade. This can be in any size or shape you like, but bear in mind that the more complicated it is, the trickier the later steps will be; you may find it easier to start more simply and then build up to the more complex designs.
Step 2: Make a template
You next need to make a template of your lampshade. This is most easily done by marking the lampshade and starting on that edge. Lay a large piece of paper down and starting at the mark that you created, gradually roll your lampshade across the paper, marking its path as you go, until you are back at your mark again. (If you have a round lampshade, you'll end up with a rectangle, it its more of a cone shape you will have a curved arc) Add approximately one centimetre around all of the edges, for when you are finishing your lampshade.
Step 3: Cut your fabric and apply
Using your template as a pattern, cut your customised lampshade fabric to size. Make sure you are happy with the positioning of your pattern on the fabric and its placement. Once this is done you will need to fold up and press the extra centimetre you added around the edges; this will make up a seam. Apply the fabric to your lampshade lining, we would advise using a fire safe fabric adhesive and following the manufacturer's instructions.
Step 4: Finish
Ensure that your seam is stuck down over the edging of the lampshade, and allow to dry. Spray your lampshade with a fire-retardant fabric spray, again following the manufacturer's instructions and allow to dry completely. You now have your very own personalised lampshade made using custom made lampshade fabric.
How to Make a Custom Fabric Lampshade
Slightly trickier to create, custom fabric lampshades are made by mounting your fabric onto a styrene backing and applying to a metal lampshade frame.
Step 1: Select your frame and make a template
For this type of lampshade, you will be looking for a wireframe or lampshade rings. A frame will provide the whole of the structure, whereas the rings will provide only the top and the bottom. Using the same method as above, create a pattern for your fabric, using the shade itself as measurements. Remember to add extra all the way around for your seams.
Step 2: Cut your fabric and lining
Using your template you need to cut your fabric and lining to size. Adhesive styrene, or pressure sensitive styrene is one of the most popular materials. It is an extremely thing polystyrene sheet with a sticky side to attach it to your fabric. Any fire retardant, fireproof or fire safe material can be used as a lining, but make sure that you don't use something that may overheat and could cause a fire. With a fire-proof lining, any fabric can be used to make the outside of your lampshade, cotton, silk and lined are the most popular choices.
Step 3: Piece together
Once all of your pieces are prepared, it is simply a case of putting them together. Remember to glue the seam of your shade together when you create the initial circle. If using a frame simply stretch your fabric and lining over the frame, pin in place and stitch. If you are using lampshade rings the easier way to do this is with bulldog clips; clip your fabric into a circle shape and stand it on its end. Carefully insert the ring into the top and clip into place around the top. Then using either a specially formulated lampshade adhesive, or by stitching, carefully secure your fabric over the ring of the lampshade. Once you have done, over-end it, and do the same to the other end of the lampshade.
Step 4: Finish
Once everything is dry (if you used adhesive) or stitched (if you decided to hand sew) it's time to work on the finishing touches. This involves cutting off any excess, trimming fabrics and threads, and just generally tidying your fabric lampshade up a little so that it all looks perfect. Once this is done your printed fabric lampshade is ready to be placed on your lamps or light fitting.