
-
 Premium quality printsHandmade with prime print and materials
 -
 Fast deliveryNo minimum order quantity, ready to ship in just 2 days
 -
 UK basedEvery order is printed and handmade in London
-
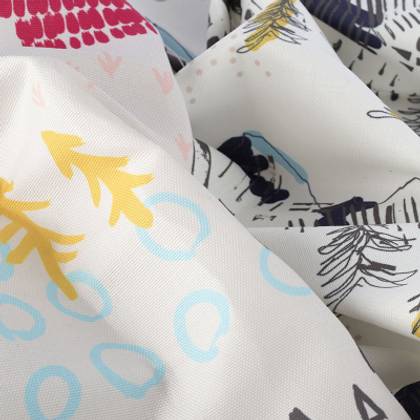
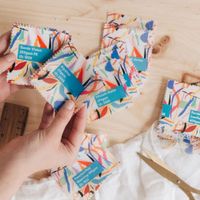
Fabric Printing
Digital fabric printing for your homewares, and gifts.
-
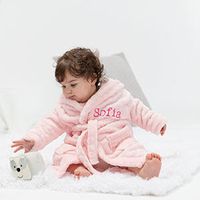
Top Gift Ideas
Upgrade your accessories and decor potential with our all-time bestseller photo gifts.
-
Next Day Delivery Gifts
Order the best, personalised photo gifts with next-day delivery.
-
Special Offers
Find the perfect photo gift for every occasion with our special offers.
Top Picks
-
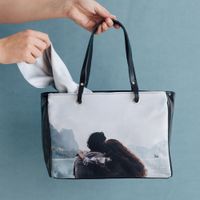
Gifts For Him
Stuck for gift ideas? Check out our favourite personalised photo gifts for him.
-

Gifts For Her
Want to spoil her? Lovely personalised photo gift ideas that will win her over.
-
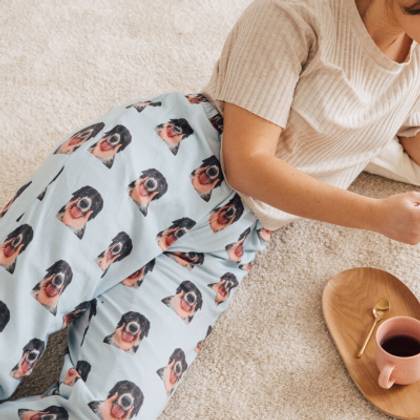
Face Gifts
Want to pull somebody's leg? Follow the latest trend with our face printed gifts.
-
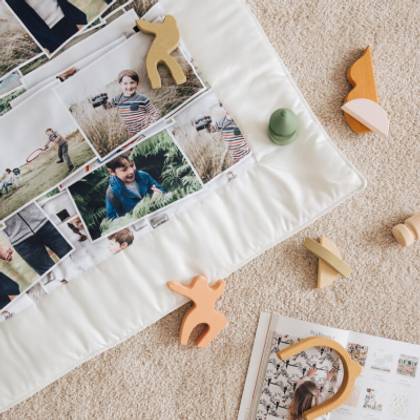
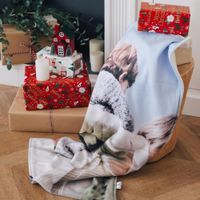
Photo Montage Gifts
Showcase all your favourite memories with unique photo gifts.
Over 450 Photo Gifts, Personalised by You & Handmade by Us
Print your memories onto a huge range of beautiful personalised photo gifts and create something totally unique for anybody and any occasion. Handmade to last and sent fast.
-

High quality
Prime print and materials
-

Custom made
Handmade in London, UK
-

Next day delivery
Ships 1 day after production
-

Buy Now, Pay Later
Pay after delivery with Klarna
Popular Photo Gift Ideas


Top Gift Categories

Personalise your clothes with your design or photos.

Personalised photo presents to put you in a leisurely state of mind.

Give a personal touch to your kitchen & dining accessories.

Add a decorative edge to your walls with personalised picture gifts.

Complete your countertop with our kitchen photo gift ideas.

Organise your files and thoughts with practical photo presents.
Top Products

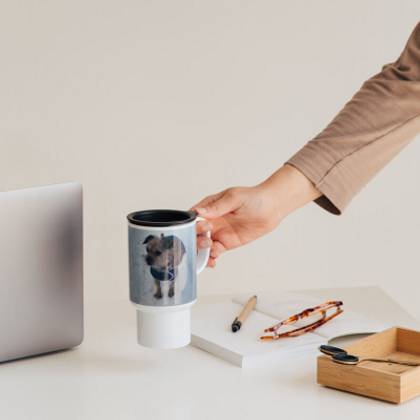
Enjoy your morning routine with a personalised china mug.

Inject some fun into your look with a custom pair of socks.

Add a luxury touch to any well-dressed bed.

Introduce a pop of colour and flair to your dining table.

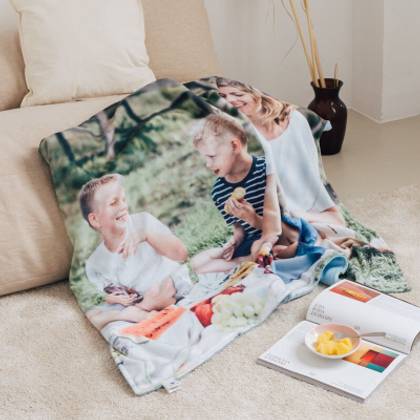
Design your blankets with your favourite photos to keep them extra close to yourself.

Display your memories with our canvas personalised photo gifts.

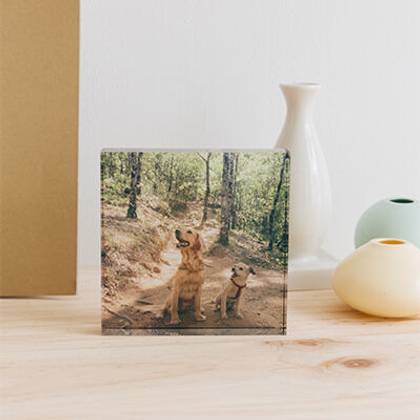
Flex your stunning scenic shots on our acrylic blocks.

Liven up your walls with eye-catching postcards.
Trending Products

Change your bedding look with minimal effort by personalising your duvet covers.

Elevate your branding by customise your brand labels.

Print unisex custom photo t-shirts as per your choice.

Custom print flags for parades, outdoor ads or use them to decorate your wall.

Dress up the windows in your home with quality fabric.

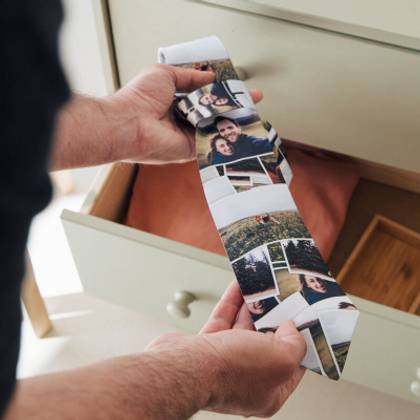
Bring a little touch of charm to your ensembles.

Personalise a striking bag charm or keyring, transforming it into a unique photo gift.

Serve your party nibbles on a set of memorable plates.

Customise quick-drying beach towels for your next holiday.

Keep your glasses protected in style.
Trending Categories

Create a unique look in a room with custom photo wallpaper.

Introduce one-of-a-kind shoes to your favourite ensembles.

Because your baked treats deserve to be kept at their best.

Custom print your paper-based products with creative freedom.

Make daily food prep easy with a personal cutting board.

Create charming photo cards for each important milestone.

Record your special moments with a printed organiser.

Set the mood for relaxing with scented candles.

Personalise your home with photos close to your heart.

Add some colour to your day with personalised underwear.
Over 450 Personalised Photo Gifts
Treat someone to truly special photo gifts, beyond all expectations. Our range has everything from home décor and kitchen gifts to gadget accessories and clothing, all handmade and expertly printed to order in London, UK. We only use the best materials to make your personalised photo gifts, from fine bone china mugs to 100% real leather purses and bags. The possibilities are endless when it comes to personalised photo gifts.
Prints to Last a Lifetime
To guarantee the best results, we use a specialist printing process that ensures your design is permanent, and won't fade, peel away or scratch off. Vibrant colours and HD details bring your personalised photo gifts to life. Everything from furnishings, apparel and kitchen accessories can proudly display your photos in a unique fashion, unlike anything you can find in the shops.
Photo Gifts for Every Occasion & 'Just Because'
Special occasions deserve special, one-of-a-kind photo gifts that can be kept as a keepsake for years to come. Discover a plethora of personalised photo gift ideas for birthdays, Christmas, Weddings, Valentine's Day and more, and celebrate these moments in a unique way. We know that sometimes, there isn't a reason to give a gift, you just want to let someone know you're thinking of them. Personalised photo gifts allow you to preserve memories for life.
Something Bespoke for Family, Friends & Even Pets
There really is something for everyone in our collection of handmade custom photo gifts, including travel junkies, fitness fanatics, hopeless romantics and last-minute shoppers. Photo gift ideas like personalised handbags and silk scarves go down a treat with the style conscious, whilst custom cushions and canvas prints are a good choice for those who love interior design. Explore the full range of our personalised photo gifts and let your imagination run.