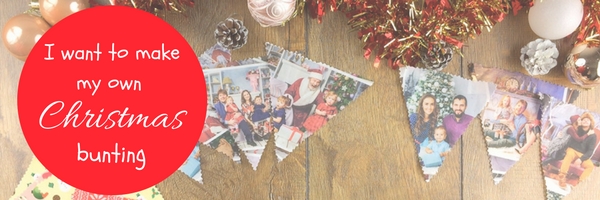
It’s time to deck those halls in boughs of holly folks, Christmas is officially coming. However, if holly isn’t quite your cup of tea, what about something a little crafty? We’re going to show you how to make Christmas bunting, so your home feels festive, homely and unique.
How to make Christmas bunting
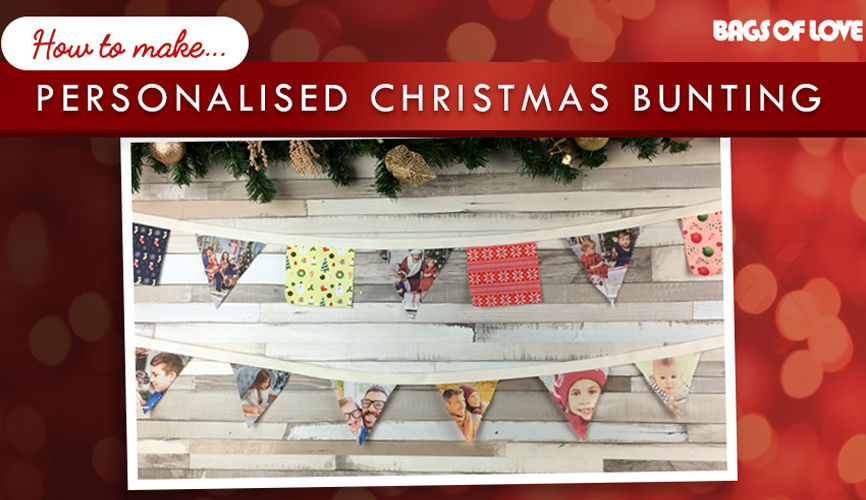
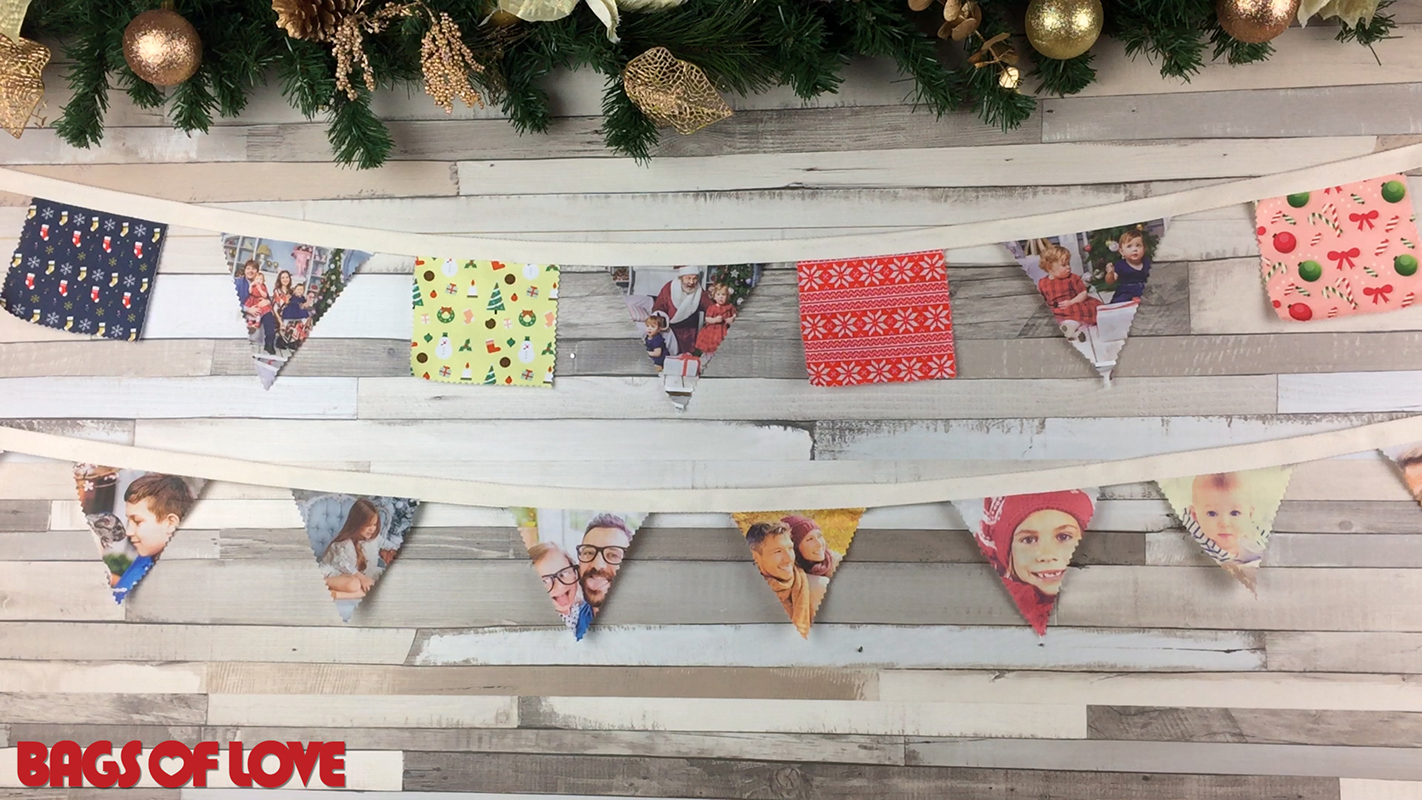
If you are looking to give your decor a yuletide makeover, then homemade Christmas bunting is perfect to make your home into a festive wonderland. It will also make a thoughtful and heartfelt gift for friends and family. Our simple step by step guide on how to make Christmas bunting is perfect for those who are crafting and DIY experts, as well as those who are just getting started. To get started on your bunting journey, you need fabric. You can pop to a fabric shop, or, to make your bunting personalised, why not design your own fabric?
Personalised fabric using photos of family and friends is the perfect way to make your own Christmas bunting. At Bags of Love, it is super easy and fun to design fabric to create your own bunting. In our example, we used our custom Lima Cotton Poplin. This fabric has the perfect amount of weight and substance to create DIY Christmas bunting and will show your photos off beautifully.
Step 1: What you need to make your own Christmas bunting
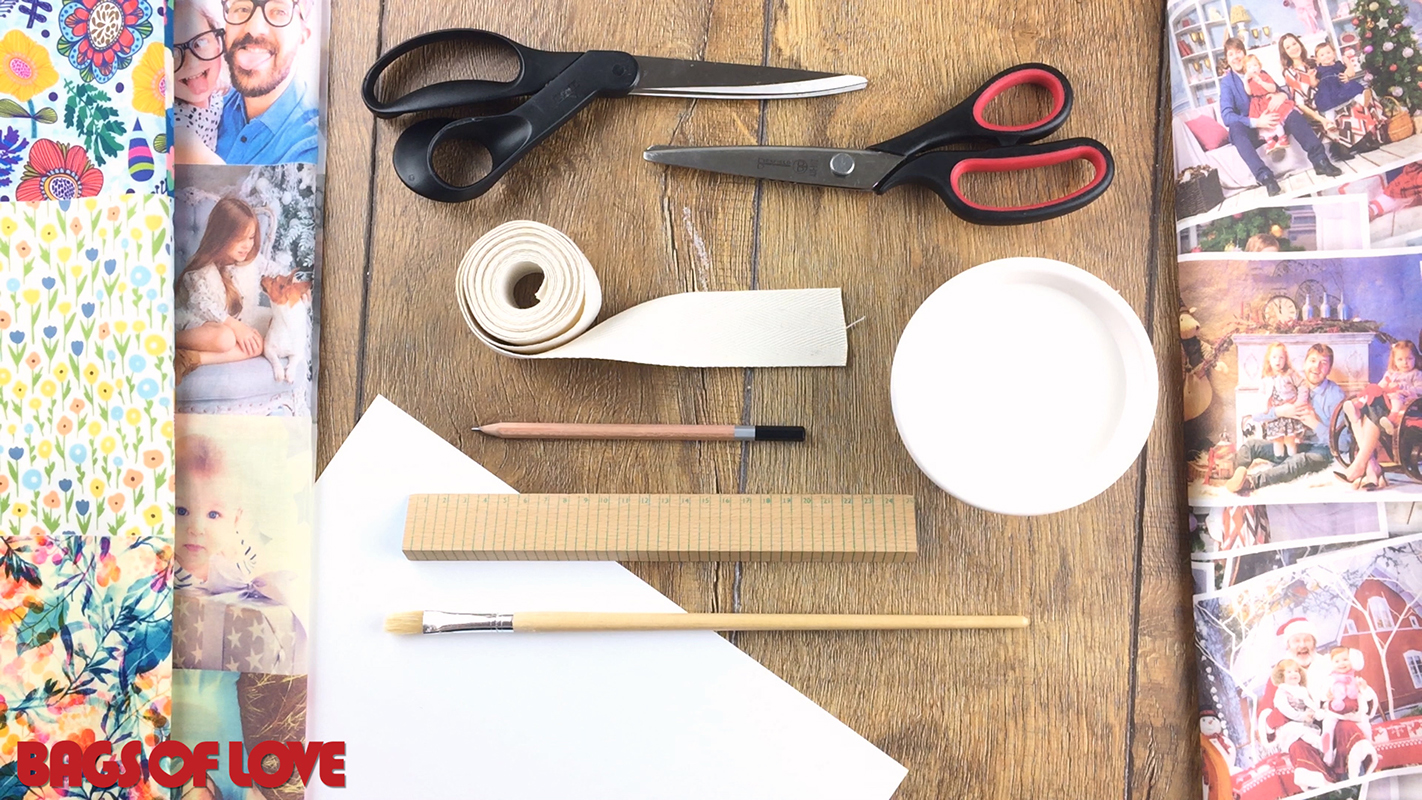
Knowing how to make Christmas bunting starts with having the right tools. Here is what you will need:
- Printed fabric: We used our custom printed Lima Cotton Poplin. The amount you need really depends on how much bunting you want to create. We printed 100 x 50cm and this was enough fabric to produce bunting swatches for a whole hallway or room. Allow 0.3 square metres per metre of bunting
- Fabric tape: Again, the length depends on how much bunting you want to make. It’s always better to allow a little extra, and you can trim it down if you need. Remember that you will need to leave a length of plain fabric tape either side for tying up
- Good quality scissors: These are used to cut the bunting template, and the fabric if you wish
- Pinking shears: We used these shears to cut our bunting swatches, as they give the fabric a gorgeous serrated edge, and they prevent the fabric from fraying
- Ruler: To measure your tape and to help create your bunting template
- Card: Use a piece of stiff card to make your bunting swatches template
- Pencil:- Use your pencil to outline your template on the card and to draw onto the fabric to make cutting marks
- PVA glue: Pour a generous amount into a bowl, ready to use for sticking your fabric swatches to the fabric tape
- Paint brush: Use to apply the glue to the fabric and the tape
Now it’s time to make your own Christmas bunting!
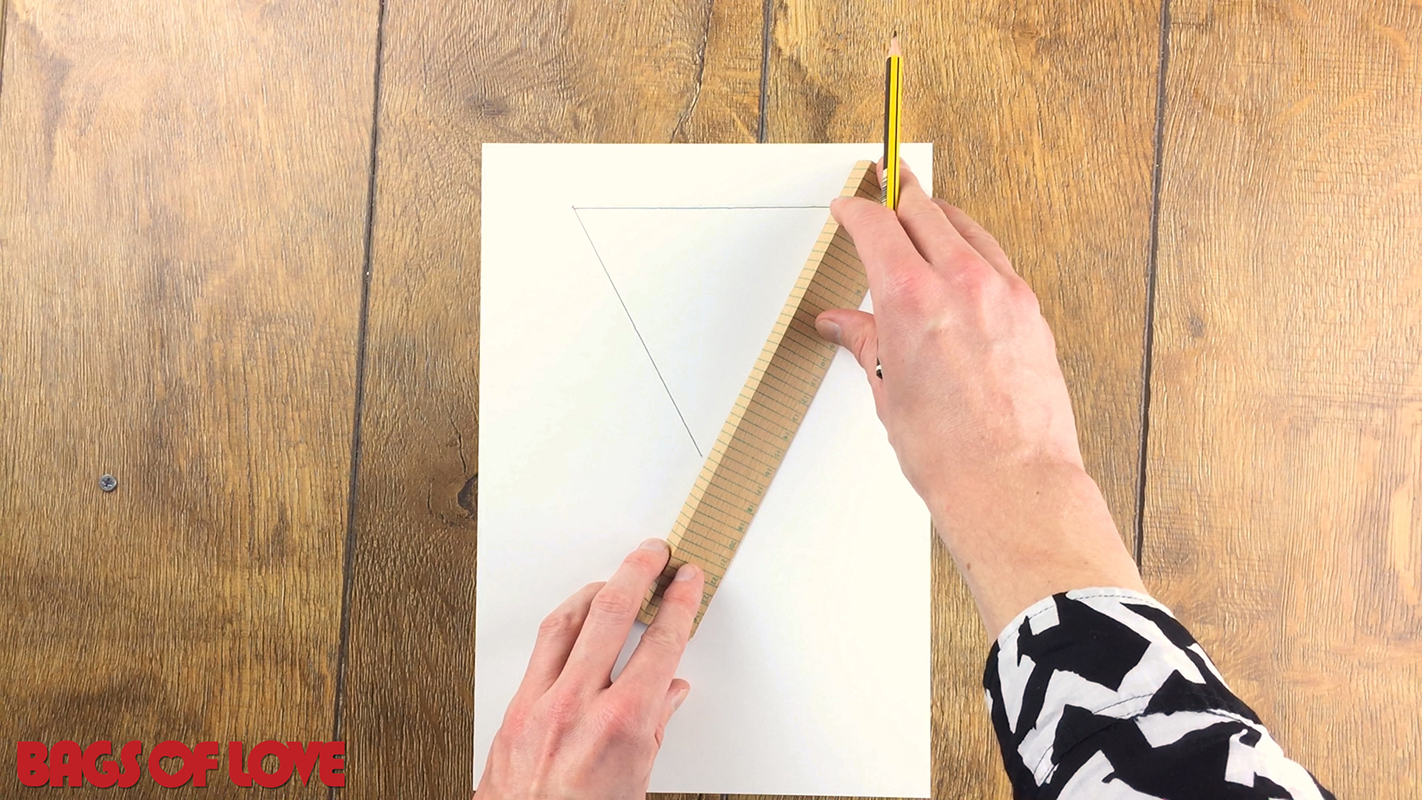
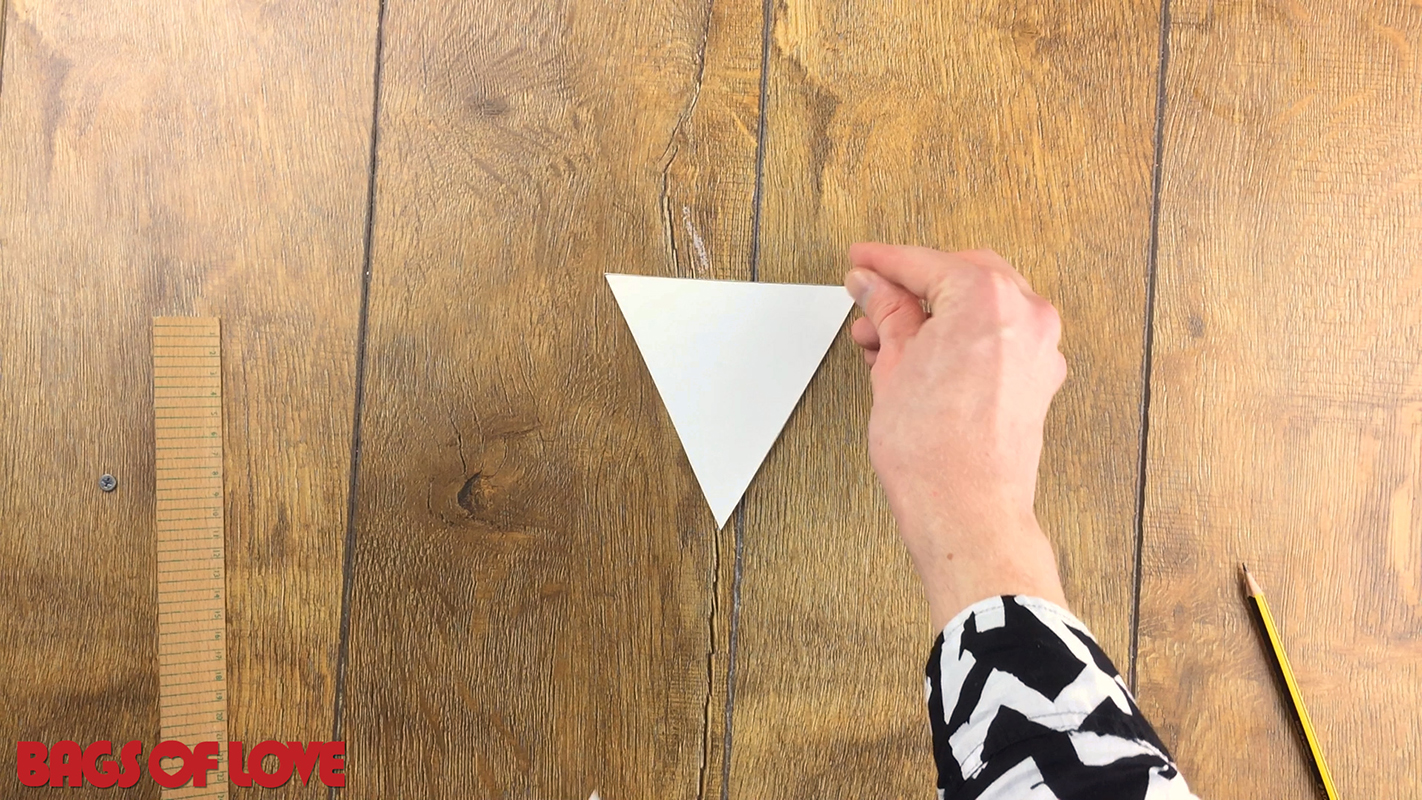
Step 2: Create a template
Using your stiff card, ruler and a pencil, create a template for your bunting swatches. You can make whatever shape you want. Classic bunting shapes include triangles and squares.
Step 3: Cut it out
Use your scissors to cut your shapes out of the card. Keep them as neat as possible.
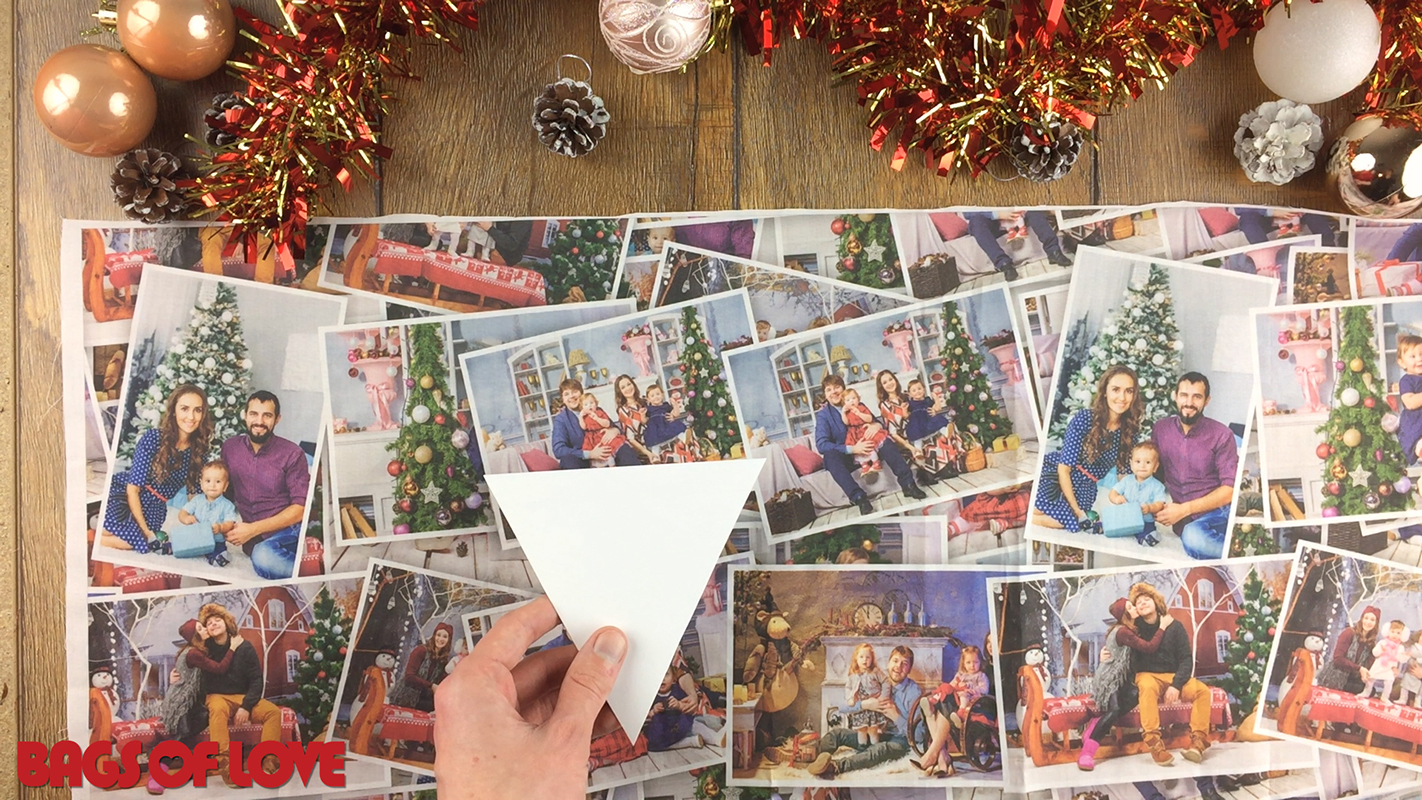
Step 4: Place your template
Take your card template and place it on your fabric. If you have printed a collage, decide which areas you will want to use for the swatches on the bunting.
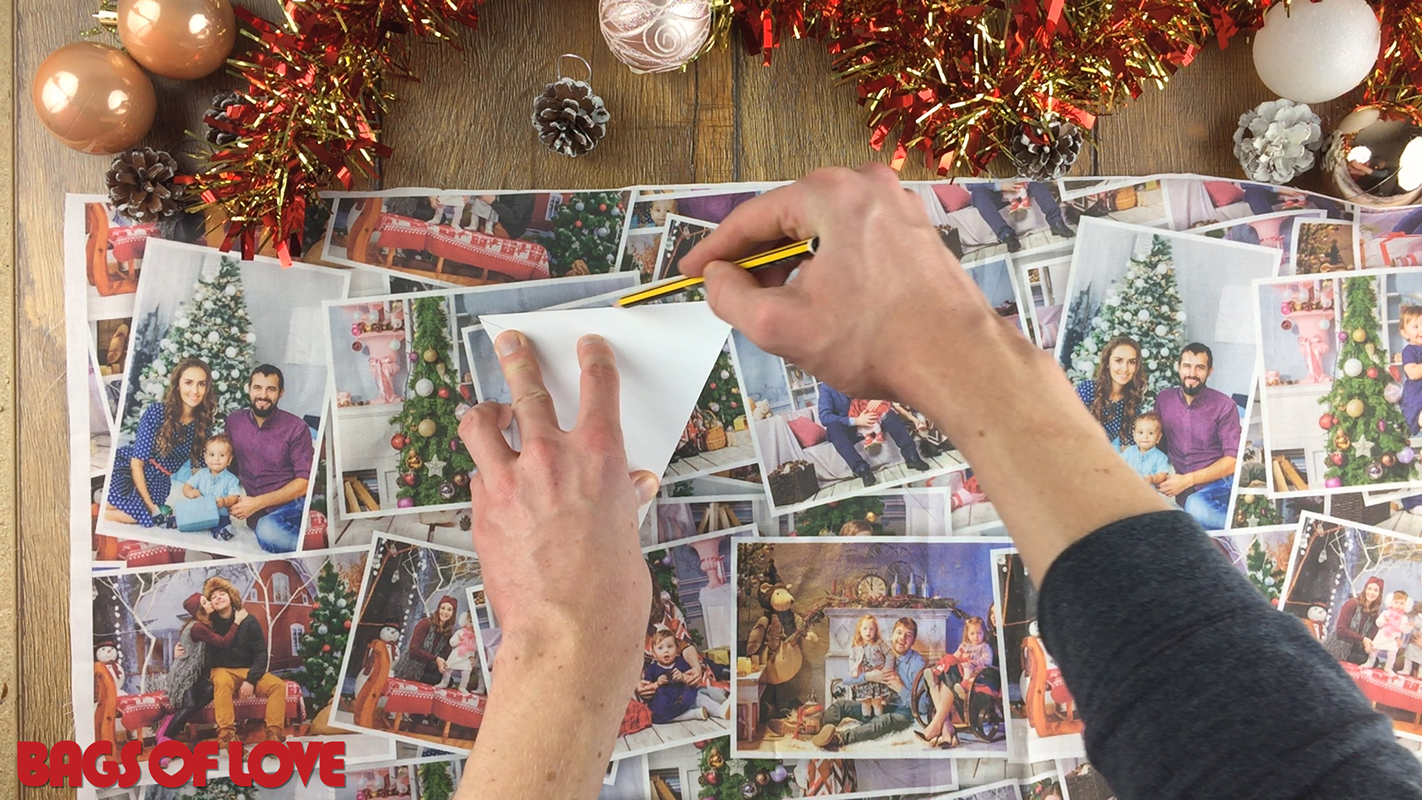
Step 5: Trace around your template
Using your pencil, trace shapes around your template. You can keep the lines fairly light – as long as they are pronounced enough for you to see while you are cutting them out.
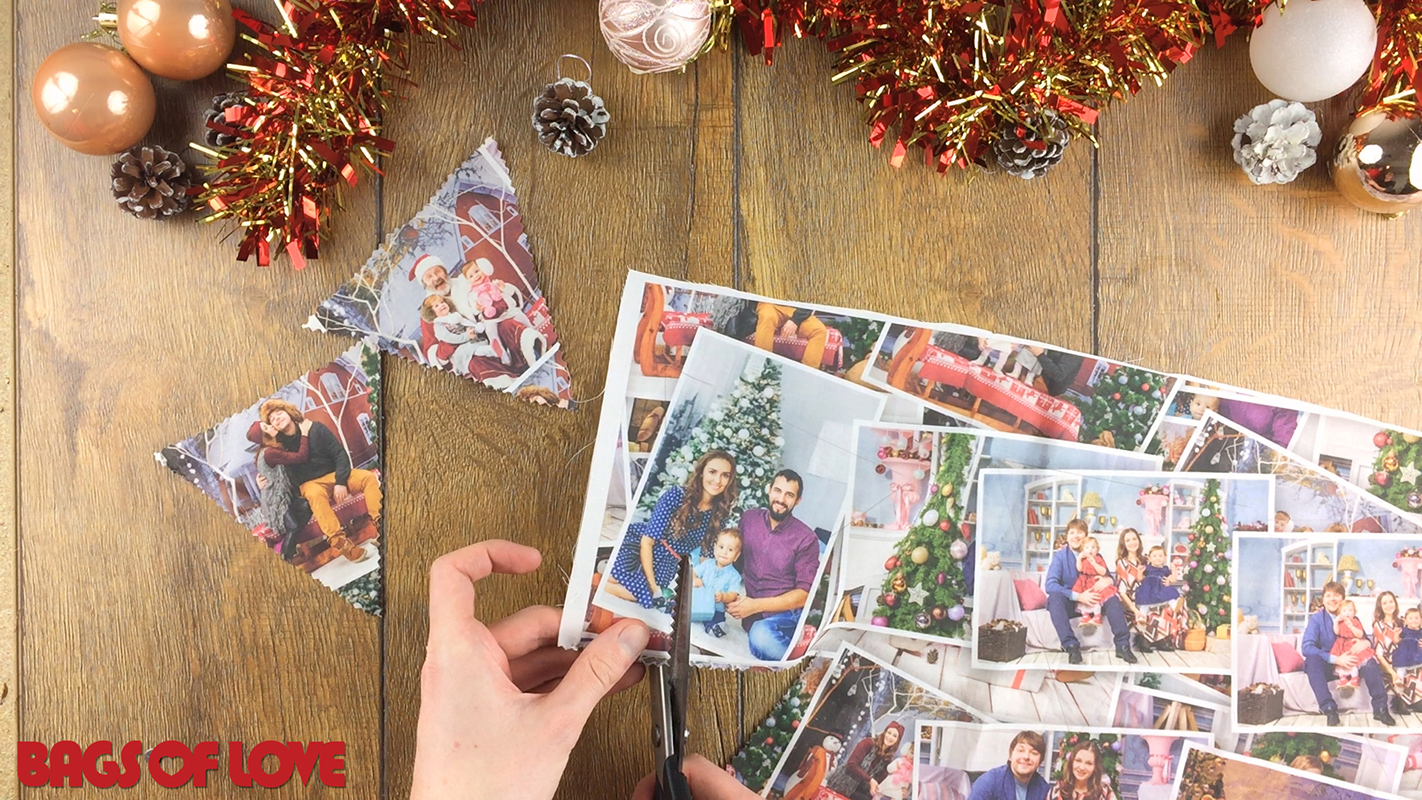
Step 6: Cut out your shapes
Use your pinking shears, or scissors if you don’t have them, to cut out the shapes in the fabric.
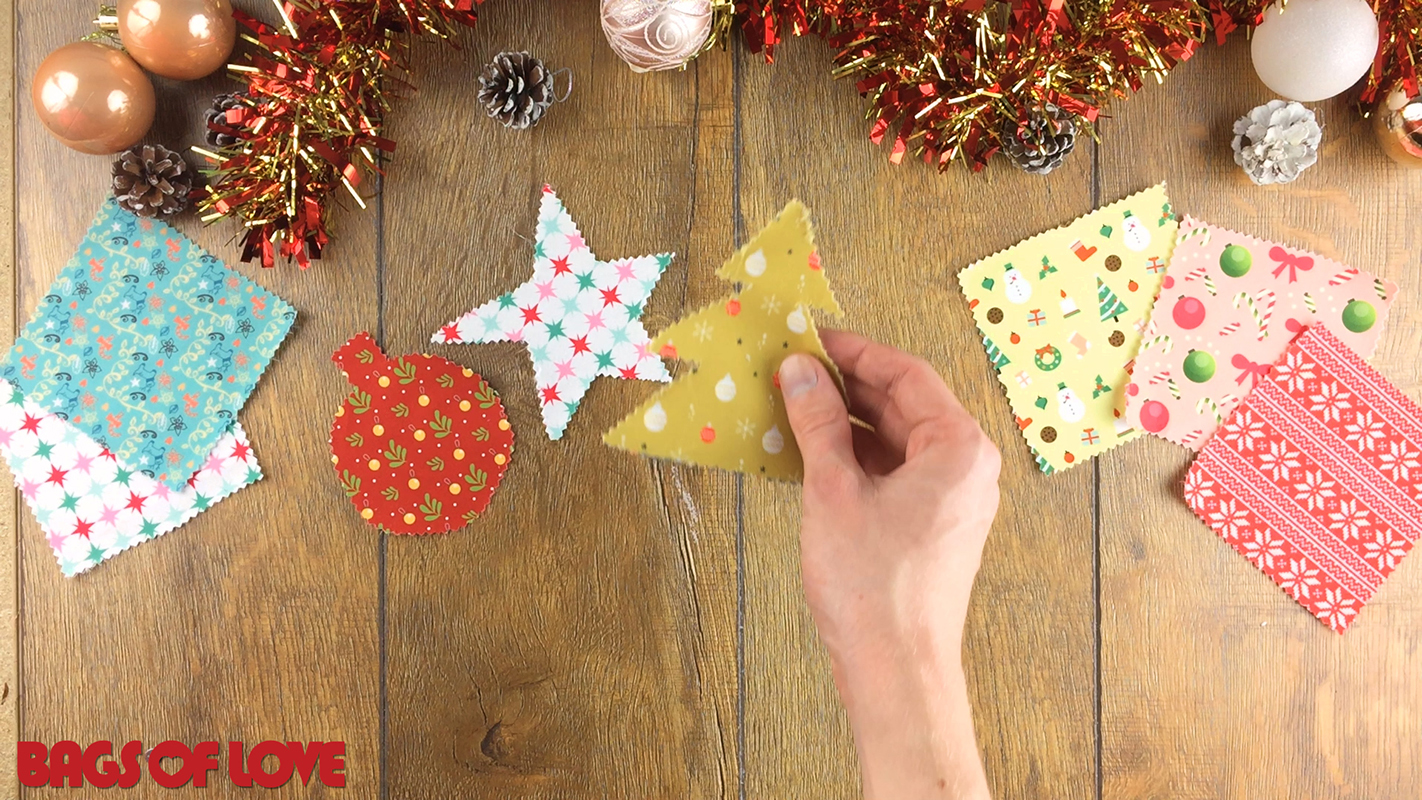
Step 7: Arrange your swatches
Arrange your swatches in the order that you want to place them. We used a combination of different shapes and photos as well as Christmas inspired designs.

Step 8: Get creative
If you want to push your creativity some more, then why not have a go at making different shapes from the fabric? Christmas inspired images such as a Christmas tree, star or even a bauble will all add interest and fun to your bunting.
Step 9: Bring out the glue
Grab your PVA glue and a plain brush to use for application.
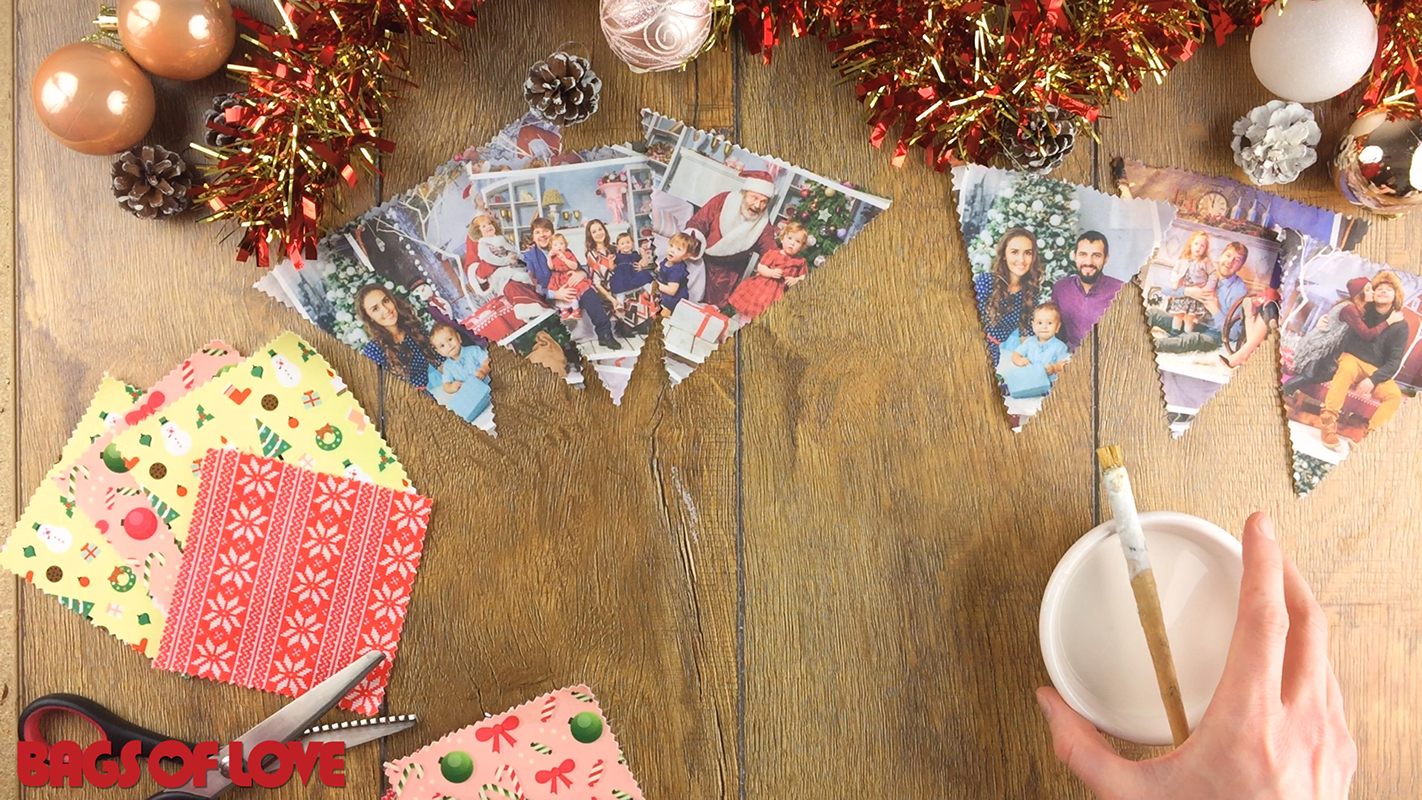
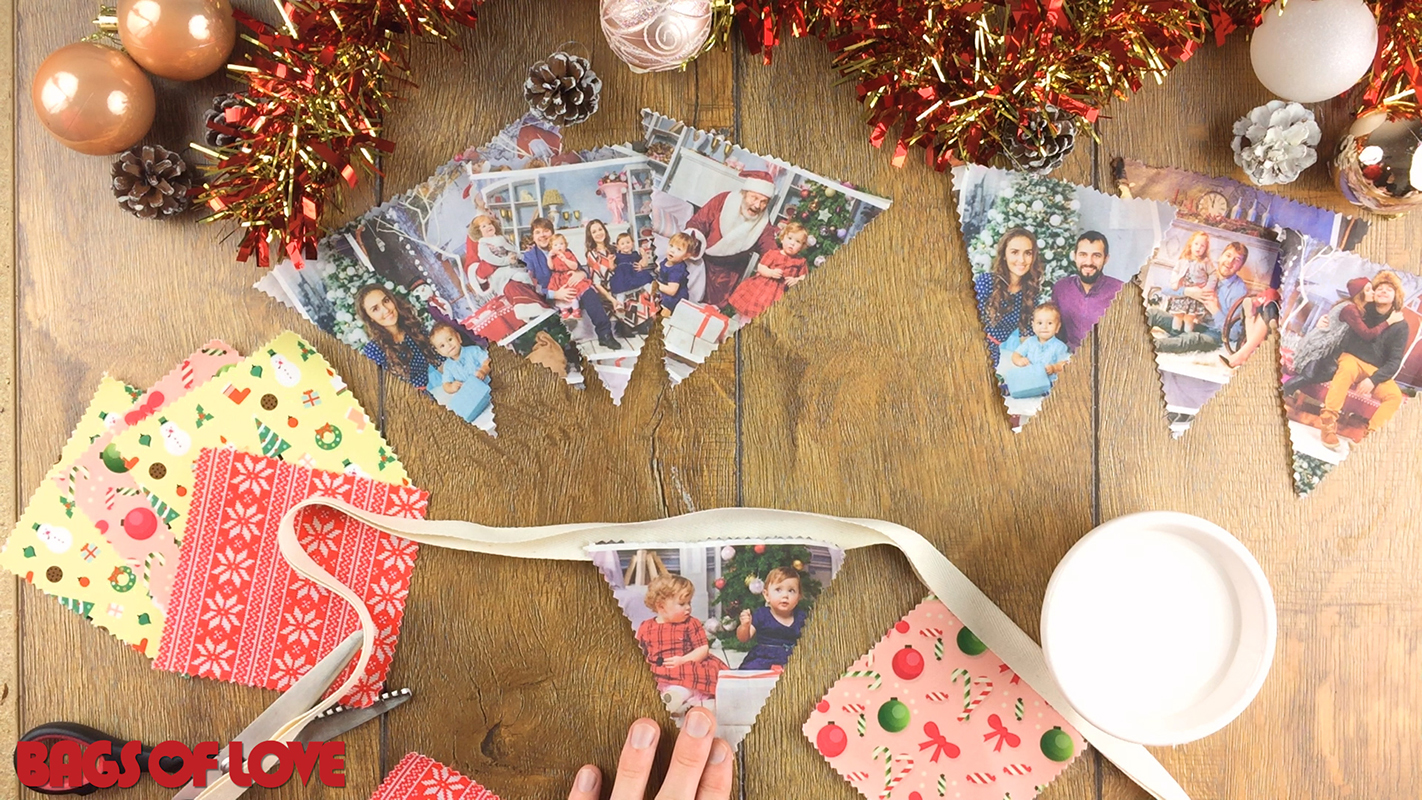
Step 10: Fold your fabric tape
We used fabric tape to create our bunting. Fabric tape comes in all different colours, but we thought a neutral would work best against the colourful fabric swatches. Fold your bunting in half, lengthwise, and, if you can, press it with a hot iron. This will help keep the tape secure when you glue it.
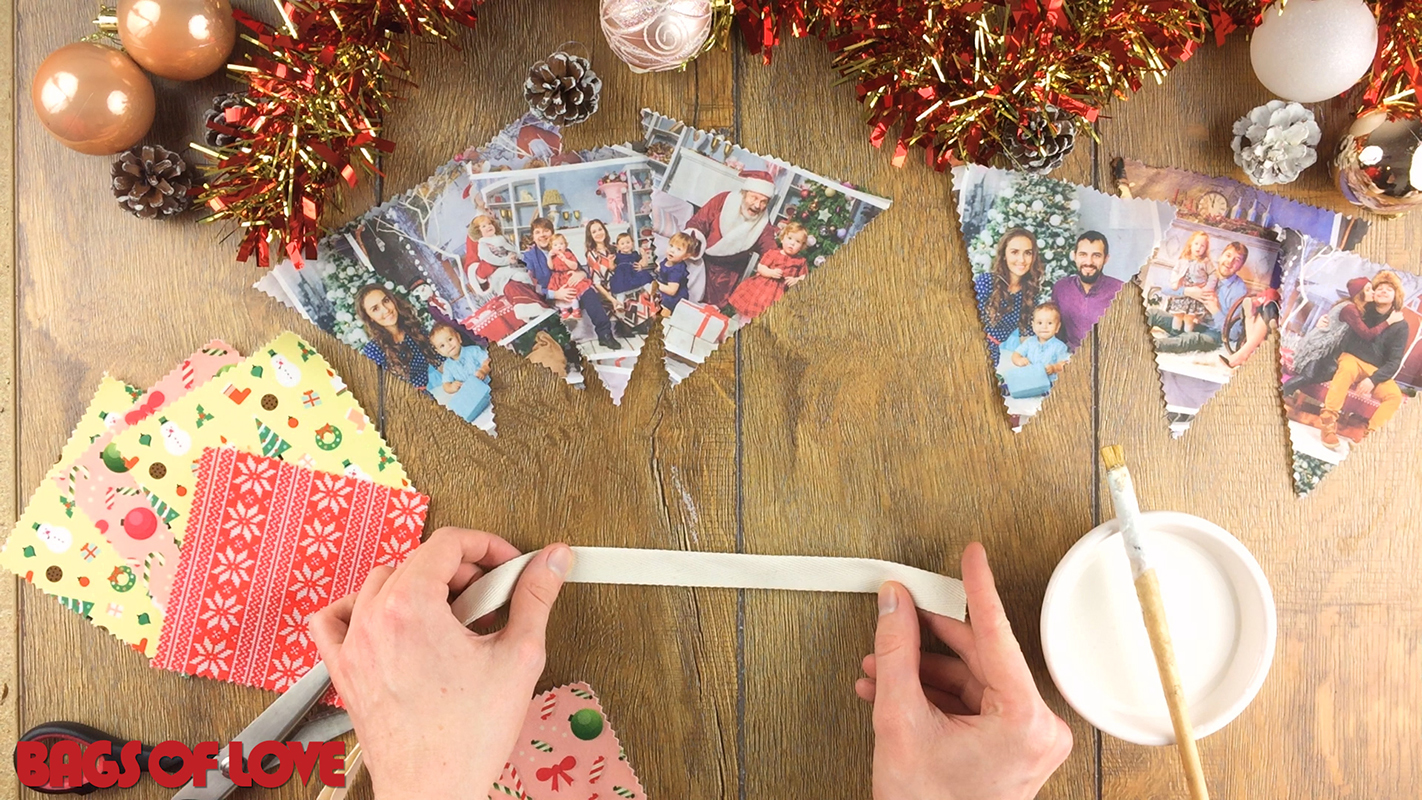
Step 11: Glue your tape
Dip your brush into the glue and spread it onto a length of the tape. Remember to leave a length of the tape without a swatch on it. This will allow you to tie your bunting up once finished. Glue both sides at the end to hold it together. Then spread your glue further along on the bottom half of the tape.
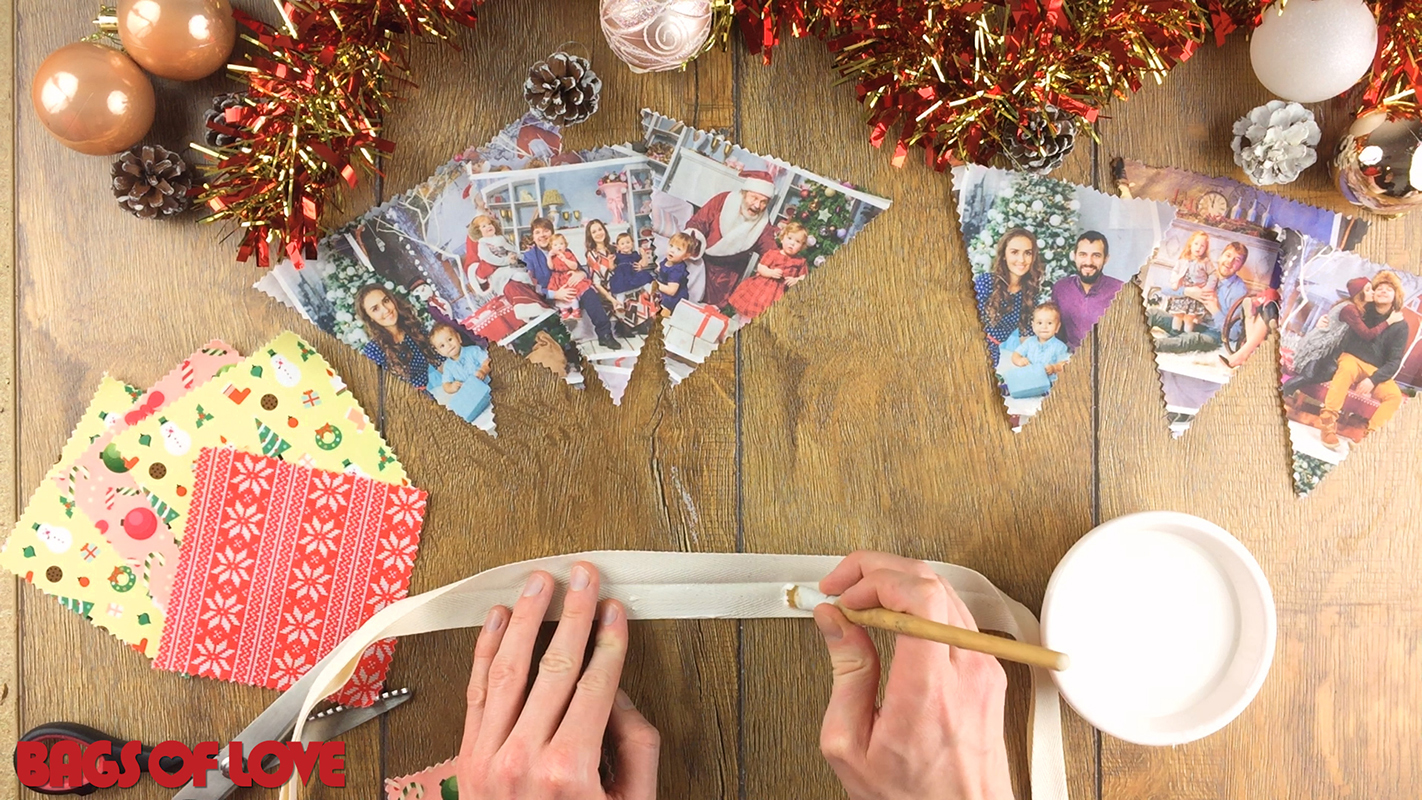
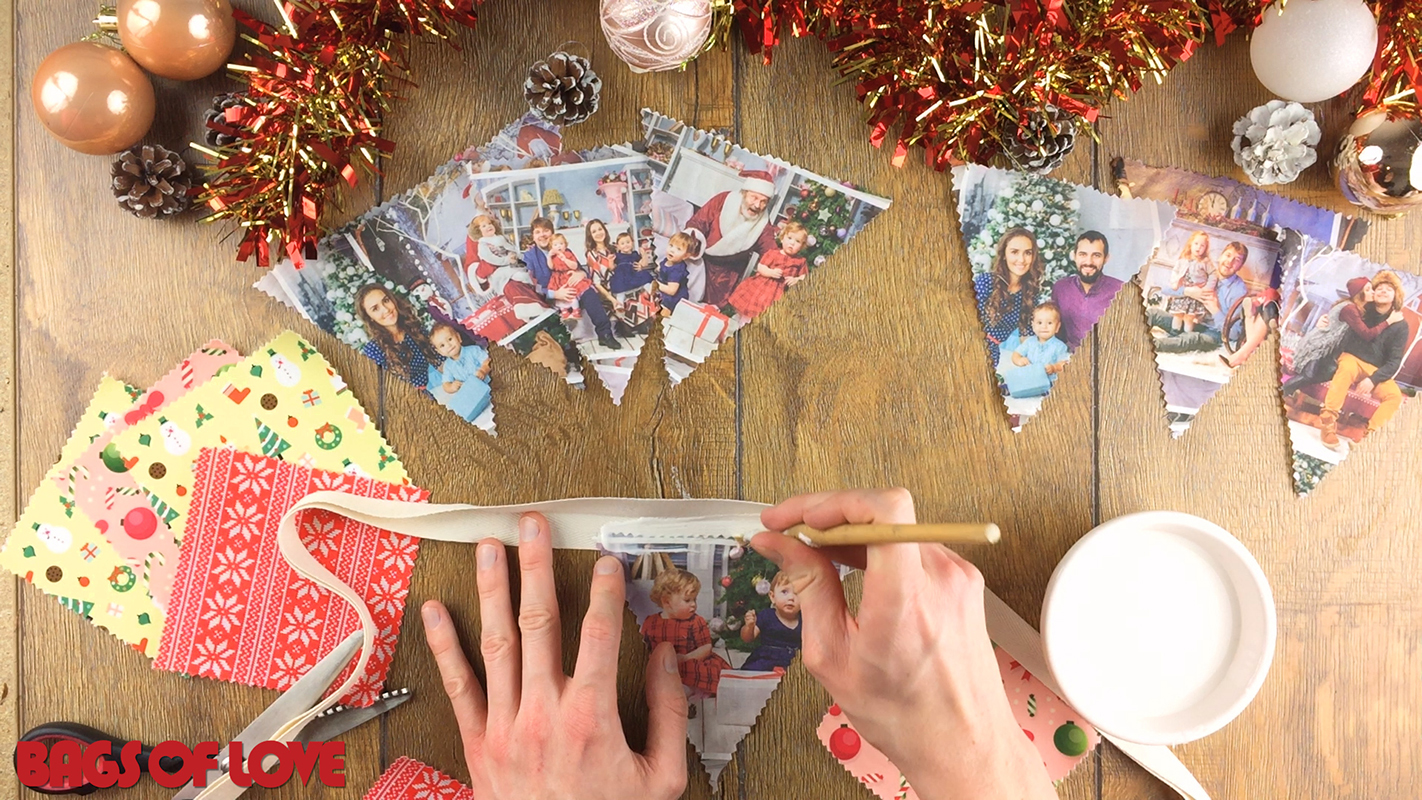
Step 12: Start sticking
Place your swatches onto the glued part of the tape. Space them as close or as far apart as you wish.
Step 13: Glue the tape and the swatches
Glue the top of the fabric swatch once placed on the tape.
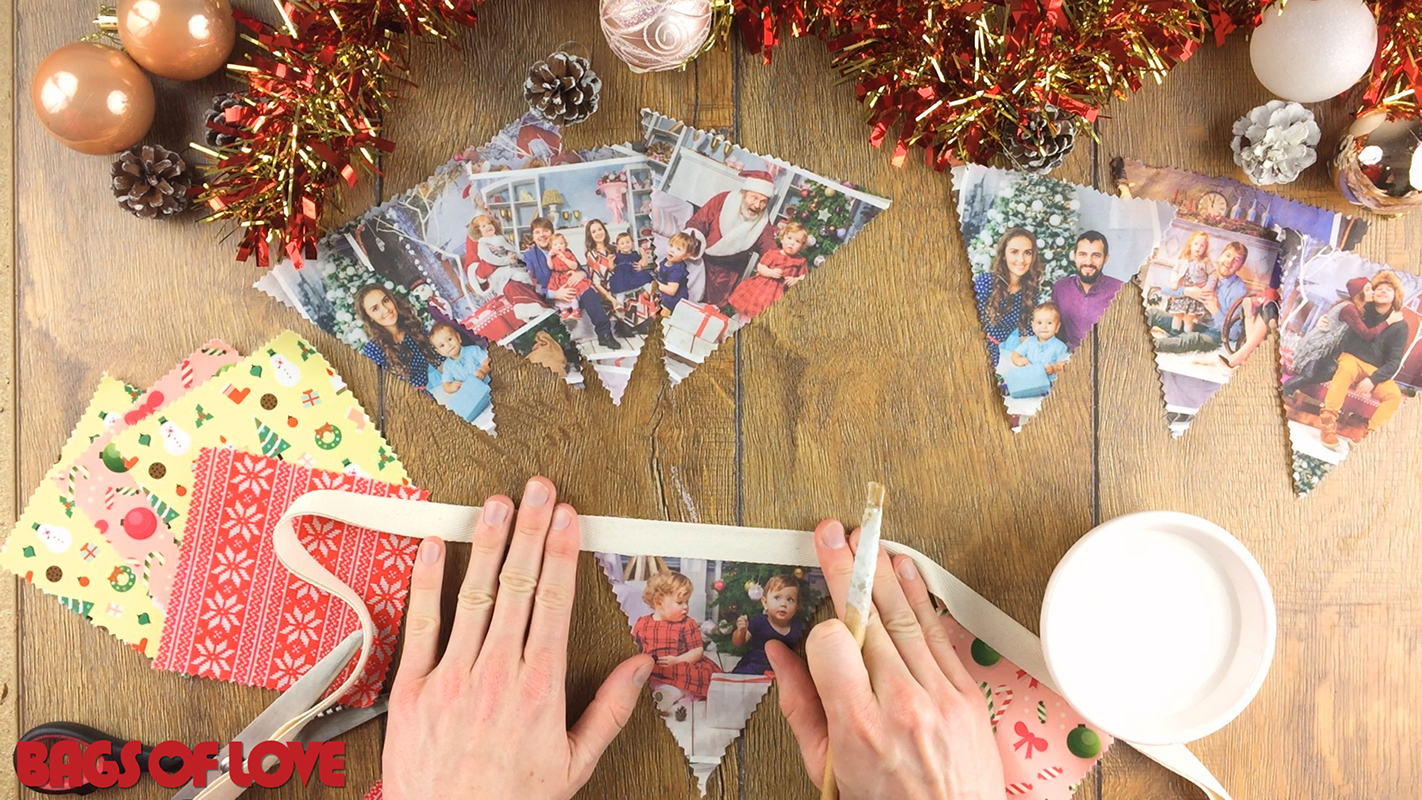
Step 14: Secure the tape
Fold the top half of the tape over and secure it firmly.
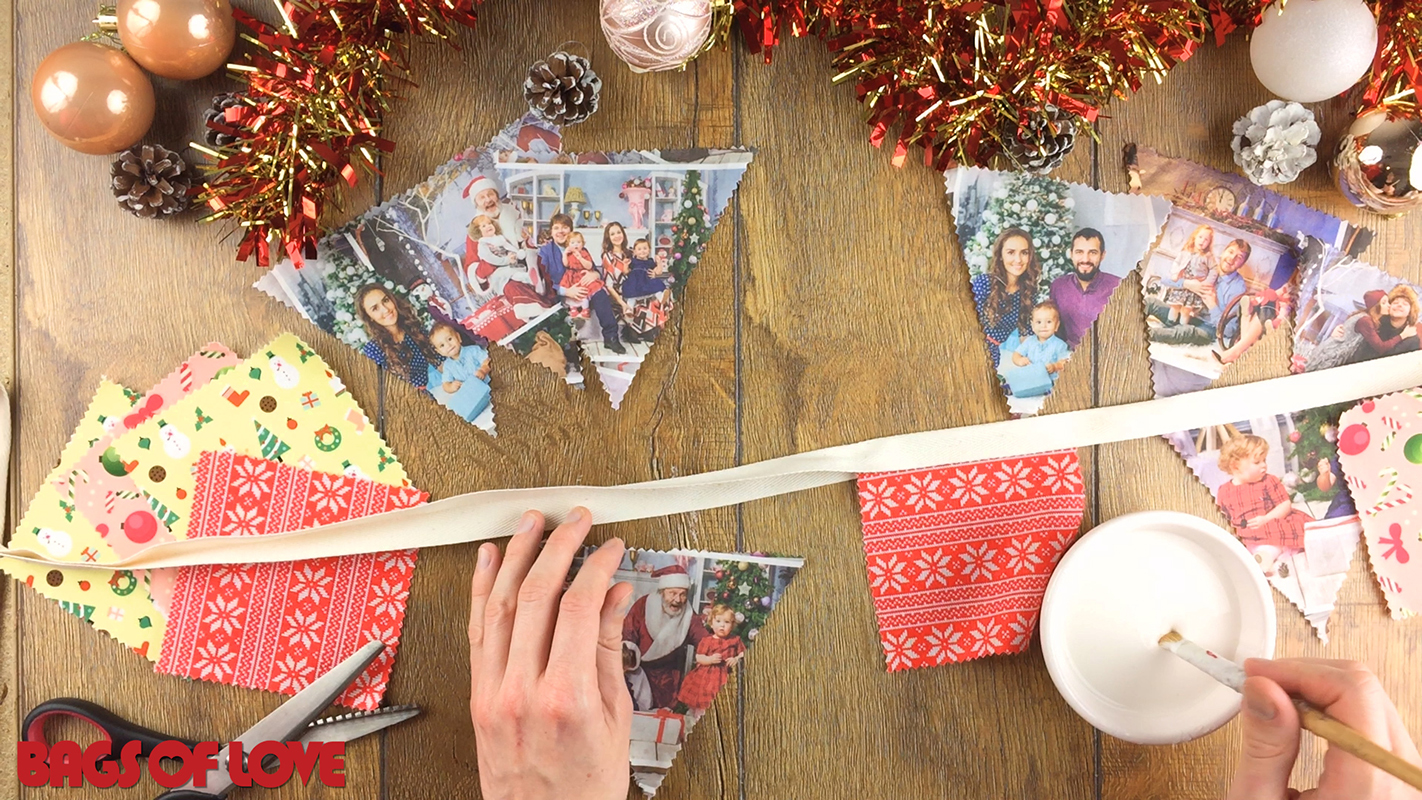
Step 15: Repeat the process
Go along the whole length of the tape, placing and sticking your fabric. You can space them widely, or more compact if you wish. Have fun alternating with shapes, patterns and styles.
Step 16: Enjoy
You’re all done! All that is left to do is hang your bunting. We love placing it over fireplaces, door frames and against walls. Use your handmade Christmas bunting to make your dining room it homely and festive and ready for Christmas lunch.
Now you know how to make Christmas bunting, it’s time to deck those halls in the most personal and sentimental way possible. Start designing your own fabric using photos of your loved ones, and create your own bunting made from your special memories. If you are ready to make your own Christmas bunting, then click the button below and start designing! Have fun, and Merry Christmas.