

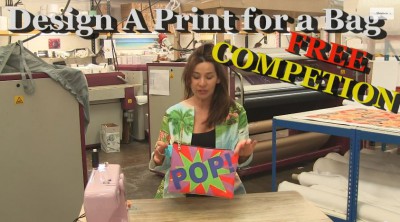
We have teamed up with the talented Tree from Stitchless TV to bring you a brand new competition and tutorial!
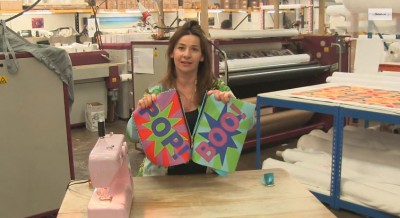
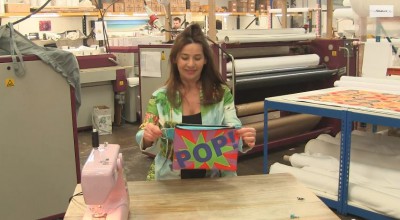
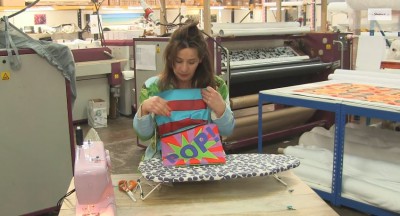
Tree visited us at Bags of Love HQ and filmed a pretty fabulous video – a tutorial to make your very own statement clutch bag.
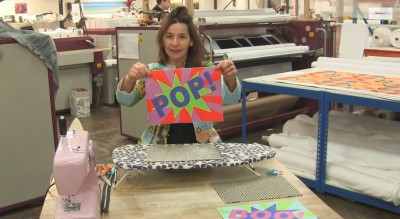
The reason why? Well, we have a brand new competition at Bags of Love to create a design on our fabric in order to make this clutch bag for yourself. We are looking for a double sided design – one side to show a statement slogan or word and the other a beautiful print. When the two are put together, you get a statement bag like no other! We have got hundreds of pounds worth of prizes up for grabs as well as a discount code for everyone who enters. If you fancy entering, click here and you can find out all about it.
Step 1
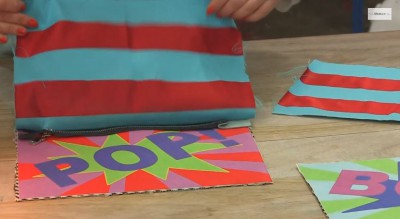
Come up with a design for the front and back of your clutch bag. The dimensions should be 2 x A4 rectangles in a landscape orientation. You need to allow a couple of centimetres seam allowance, so your measurements should be: 32cms wide x 23cms high. On one side, you need to create a statement slogan and on the other your own original print.

Step 2
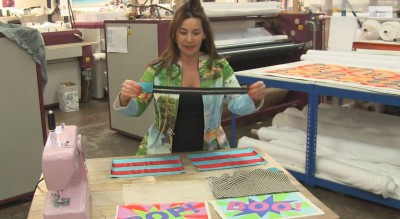
Once you have your fabric, you also need the following pieces to complete your clutch bag – 2 x pieces of fabric of your choice for the interior lining, 1 x length of zip (must not be shorter than the width of the bag), 1 x D ring, 2 x pieces of small accent fabric of your choice and 2 x pieces of more weighty fabric to make your bag sturdier (this is optional as it depends on your preference). You will also need a sewing machine and an iron.
Step 3
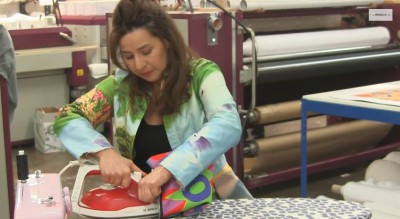
If you do want to make your bag more weighty – again this is totally optional! If you choose a heavier fabric such as our Neoprene fabric, you won’t need to do this – then follow this handy trick from Tree! Get a piece of fabric, which you like the weight of. It doesn’t matter what it looks like as you won’t see it once the bag is complete. You also need some Bondaweb in order to bond the weighty fabric and the external fabric together. Lay the weighty fabric on your ironing board and place the Bondaweb on top and then lay your printed fabric on top of that, so you have made a sort of fabric sandwich!
Trim off any excess bits of fabric or Bondaweb, so you are left with a nice, neat rectangle. Then, place a piece of fabric or cloth over them and, using a hot heat and steam, press the fabrics together with your iron. This will stick your fabrics together. Now do the same with the other side!
Step 4
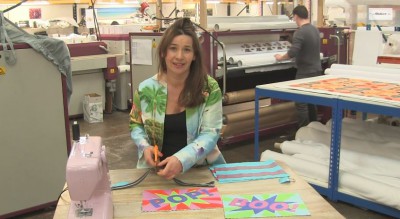
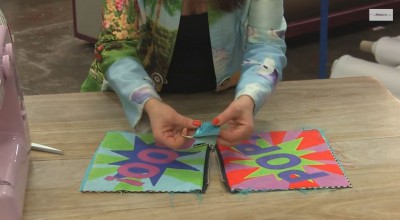
Now we need to shorten the zip and attach the accent fabric. Lay your zip along the length of the bag and come in about an inch and then (deep breath!) snip the excess zip off! It’s a bit of a scary moment, but it needs to be done. Once shortened, take one of your pieces of accent fabric or material (Tree has used a gorgeous turquoise leather, but you can use anything you want really!) Put your fabric right sides with your zip and sew the ends together – leaving about 1cm of seam allowance. When you get to the metal teeth of the zip, just jump over them using your sewing machine, so you only sew the fabric. Use a straight zip, going forwards and backwards at the beginning. You should now have a zip with your accent fabric sewn into it. Now trim away any excess fabric and give it a bit of a press to flatten it out. Line it up with your bag and trim any excess material so it fits with the length of the bag.
Step 5
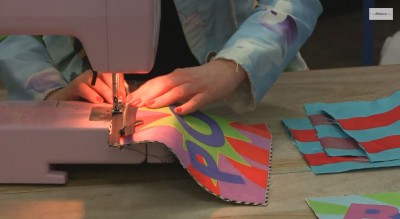
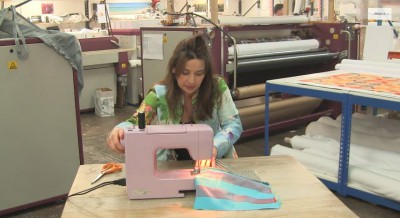
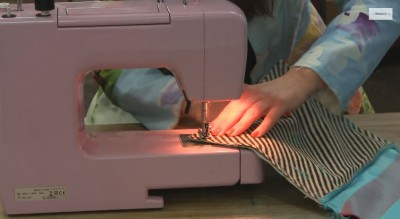
Next we need to attach the zip to the bag. Take one half of your bag and place the zip so it is right sides together with the bag (along the length where the opening will be). You now need to sew the pieces together. Using a straight stitch, sew a couple of mm away from the edge. Go backwards and forwards to start off with and then sew down the length of the zip and bag. Now that is attached, take your lining fabric and place it right side together with the bag (so it should be the front of your printed fabric facing the front of the interior fabric, with the zip between them) and stitch them together – again, using a straight stitch and the same technique we just used. You should now be able to flip the interior fabric back and you will have the two sides stitched together, with the zip in between them. The lining is now attached to the exterior of the bag! We now have to press them back using our iron.
When you press it, make sure you open the zip and apply a lot of pressure, because we are squashing all of the fabric together.
Step 6
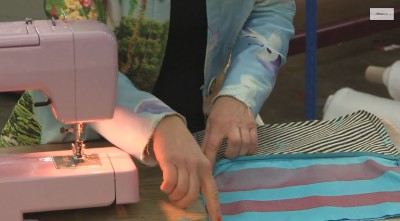
Now we need to attach the other half of the clutch bag. Place it length wise against the exterior fabric of the clutch and start sewing from the opening side of the zip. Line everything up – the zip should now be underneath – and stitch it all together, using the same seam allowance.
Step 7
This is a bit of a complicated step, so make sure you watch Tree closely! We now need to attach the other half’s interior fabric. Place the clutch bag half with the zip on your table, with the back end (so the back of the zip and the interior fabric) facing upwards. Take the interior lining, which is not attached yet, and place it right sides together with the lining, which is facing up (right sides together against the back side of the zip). Starting at the zip opening end, stitch it ALL together! Phew!
Now, flip it open and you should have both sides complete, with the zip in between them! We now have to press it. You must make sure that at this stage you open the zip! It is very important!
Step 8
Tree likes to add a little handle to her bag. This is optional, so if you want, you can skip out this step, but we think it does add something a little extra special to the clutch bag. So if you want to follow this step, take your D ring and your second piece of accent fabric and place the fabric in the ring and place the ends together. Then, align the fabric onto the exterior of your clutch bag at the top, just below the zip and stitch it on, using a straight stitch. Tree uses a stay stitch.
Step 9
We now need to stitch the exterior of our bag together. Make sure your zip is still open and flip one half of the bag over onto the other half, leaving the interior lining. You should be left with what looks like an open book, with the exterior on one side and the interior lining on the other side. Push the zip away from you and the seam allowance in the opposite direction, otherwise it will be too much bulk to stitch together. Start sewing a straight stitch about 1cm away from the edge down the width of the bag. Be quite careful when you go over the bulky bits! Do both sides of the bag and then it is time to tackle the bottom!
You will need to stitch the bottom of the clutch bag a few centimetres above the bottom of the bag and create curved edges. Do the same on both sides. You can always mark your stitch line with a pen to make this step easier! Now that it is sewn together, in order to make sure the bag lays flat, we need to trim off the access fabric, particularly on the bend.
Step 10
It’s time to stitch the sides of the lining together! Stitch straight down both sides, leaving the bottom open for a minute.
At this point, make sure you trim back the bulky excess fabric where the zip is. It’s scary but be brave and snip it off!
Step 11
Almost there! Now we need to turn the bag inside out, so everything is where it should be. Stick your hand through the bottom of the lining (which is still open) into the exterior pouch of the bag. Using your fingers, push the corners up into the bag. At this point, you can see why it is so important that we opened our zip! Now flip the bag inside out (or right side out really!) Make sure you push the little leather (or your choice of fabric accent) piece out hard, so it pops out. Keep push and adjusting until…you have a stunning clutch bag!
We now need to press it and finish off the inside.
Step 12
Where the opening is,you will see a lot of bulk (think of all of those layers we have sewn together), so you will need to apply lots of pressure with your iron and press it really well to flatten it as much as possible. Push out all of the seams and give them a really good press.
Step 13
Finally, we need to sew the bottom of the lining (remember, it is still open at this point. Make sure you are happy with how your clutch is looking and pull out the interior lining. Fold back about 1.5cms on both sides of the lining and press them to create a neat line. This also makes it really easy to sew together! Using a straight stitch, sew both sides together and you are done! Now push the lining back into the bag and there you go! You have a stunning, bespoke statement clutch bag, designed and made entirely by you!
Well done on completing your tutorial! We can’t wait to see all of you finished bags. Thanks so much to Tree of Stitchless TV for working with us and coming up with this amazing clutch bag tutorial. Remember, if you want to enter our competition, just click here and upload your statement clutch bag design.
Good Luck!