
Welcome to the Bags of Love tutorial for designing your very own Ladies T-Shirt. Get ready for summer and stay comfortable with a unique look that can razzle and dazzle. This design has been based on my original artwork and named “Ace of Waves” with a lovely jelly fish surfing the waves of deep ocean.
For those of you who are just starting out, it might be easier to make your design online where you can create your design in our easy-to-use editor and we’ll take care of the rest.
We hope you enjoy the tutorial and wish you all the best on your journey.
Step 1: Create your design.
First we’re going to create our image file, which will later become the printed fabric we can cut out a garment from. In this demonstration I’m using Adobe Photoshop CS6 but you can use a cheaper alternative like Adobe Photoshop Elements or GIMP if you prefer.
Begin by creating your outline, using the rulers at the side to draw lines on a suitable sized canvas. For this Ladies T-Shirt we need to have one piece for the front and one piece for the back. You can create both on the same canvas. Remember, whatever measurements you choose now will determine the size of the real t-shirt later on, so be very careful and pay attention to the dimensions of your digital canvas.
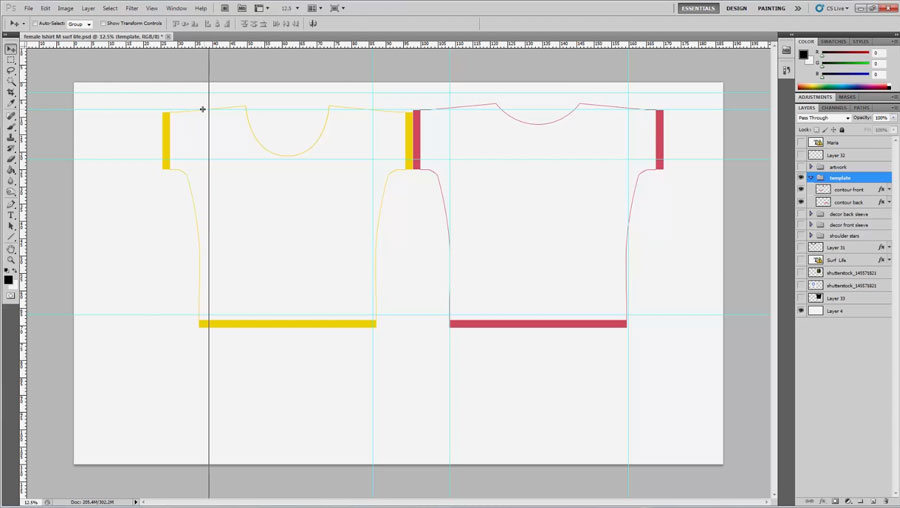
Now, using the tools, text, images and colour, create whatever design you like, bearing in mind that only the area inside the shapes will actually be used in the finished piece. If you have any lines or shapes which are supposed to connect from front to back, be very careful to ensure the measurements line up correctly.
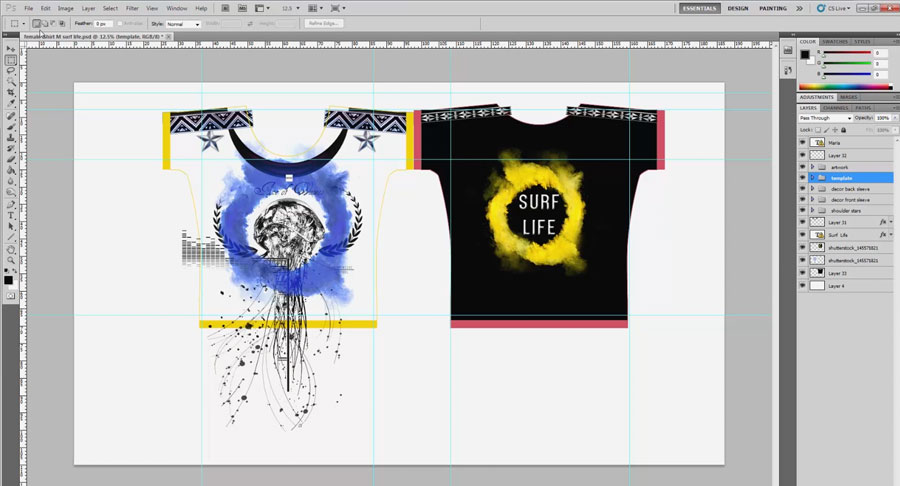
When you’re happy with the way it looks, export as a .jpeg or a .png and take a note of the dimensions of the rendered image in centimetres or inches. Double check the exported image file looks nice and clear on your computer screen and we’re ready to go!
Step 2: Print your fabric.
On your web-browser go to Bags of Love and search for Digital Fabric Printing. Click Start Design and open up the Preview.
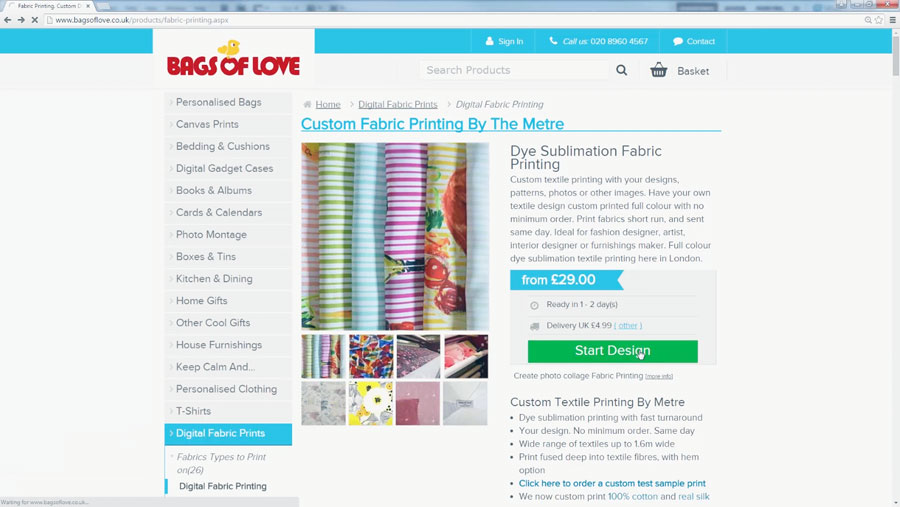
Before anything else you need to select the type of fabric you want to use. If you’re unsure what these fabrics look and feel like, you can order a Swatch Pack and this will give you over 50 small samples from our range for you to examine up close. I recommend Jersey Stretch Light 130gsm for t-shirts as it’s lightweight, comfortable and easy to work with.
When you’ve chosen the fabric that you’re happy with, input the dimensions of the image size you took down at the end of Step 1.
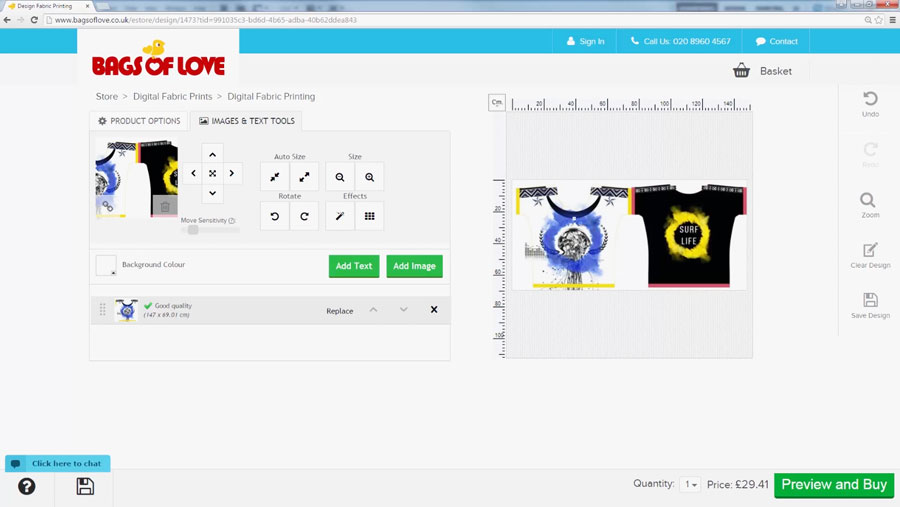
Then upload the image and ‘Voila!’ it’s done…
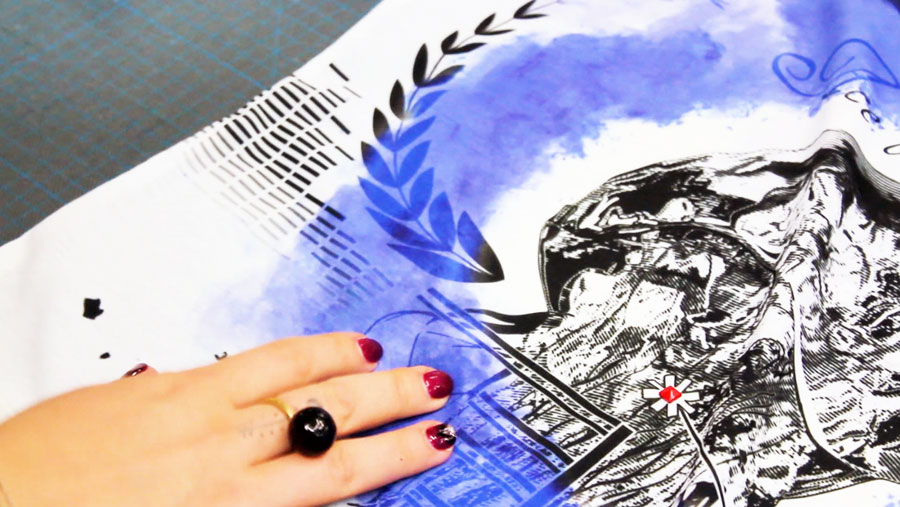
Step 3: Cut your shapes.
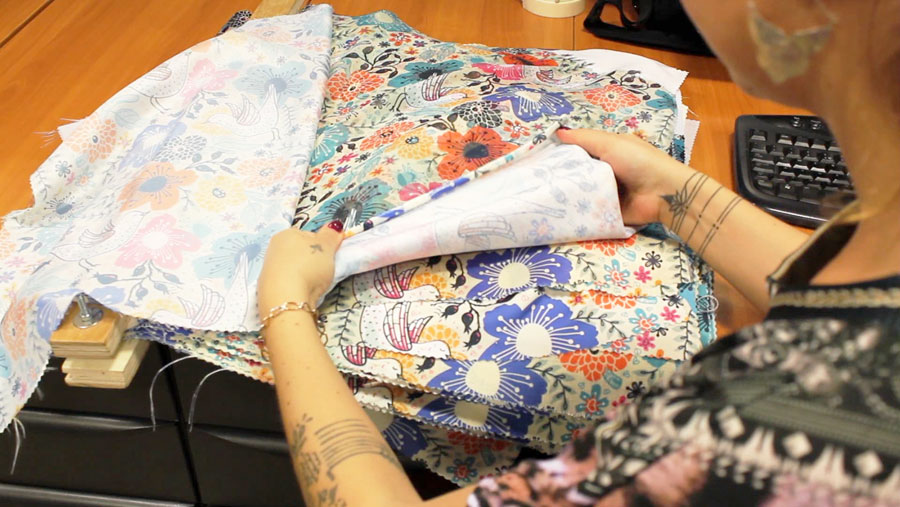
When you’ve received your printed material, it’s time to cut the shapes out. No need to use tricky paper templates and waste time drawing an outline in soap – welcome to the future of fashion design! Simply cut the outline straight from the fabric.
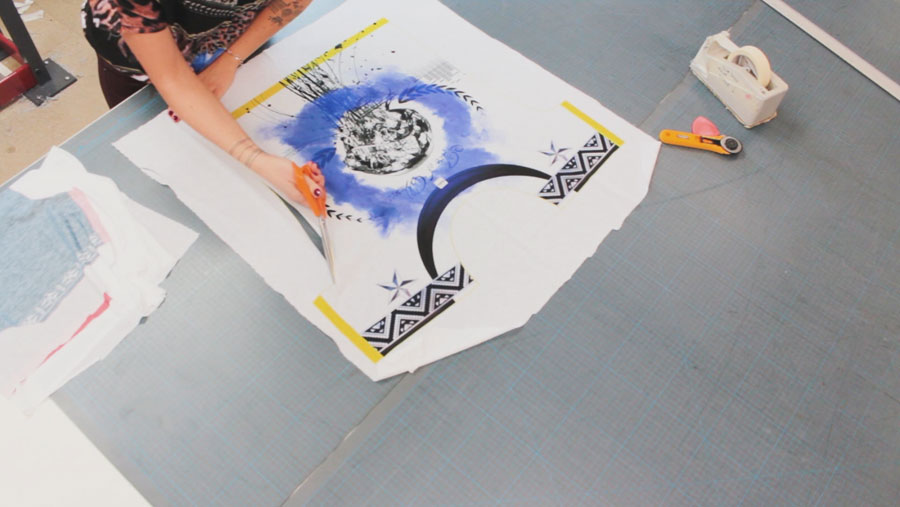
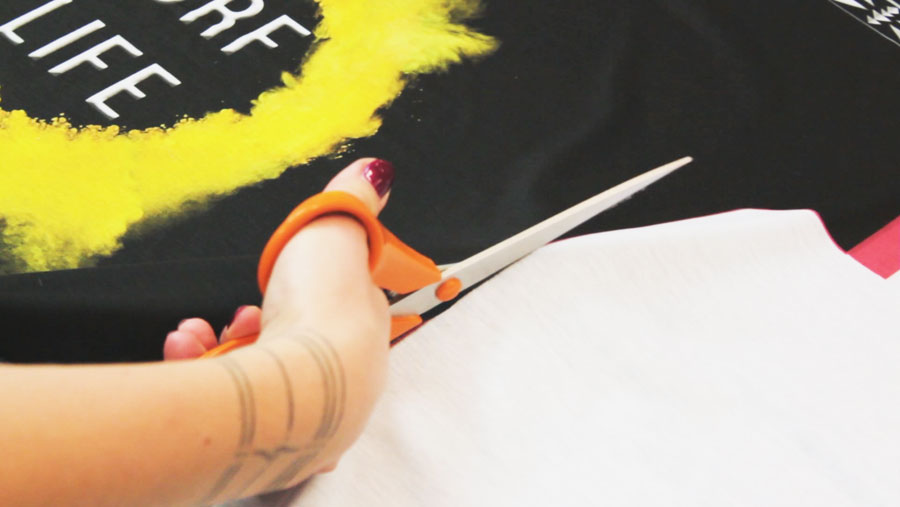
You’ll need a firm, sharp pair of tailoring scissors. Following the edges, remove the front and back pieces from the raw material, taking care to follow the lines and not accidently snip anything off.
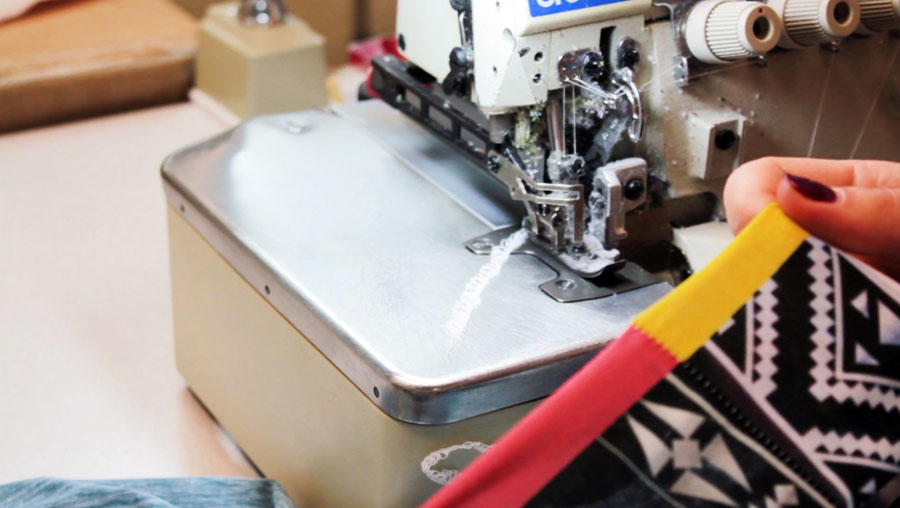
Step 4: Sew your shapes together.
There are three stages of stitching and they will require a sewing machine. Please do not use a sewing machine unless you have been taught how as they can be very dangerous.
The first is to add your own designer label if you have one.
Then we must stitch the two pieces of the clothing together. This is where it pays off to have taken care during Step 1 if you wanted to connect any lines or shapes. Start at the side and work your way around the edges but don’t forget to stop when you get to the neck-line or waistline! Those have to be left open or nobody will be able to wear your cool t-shirt.
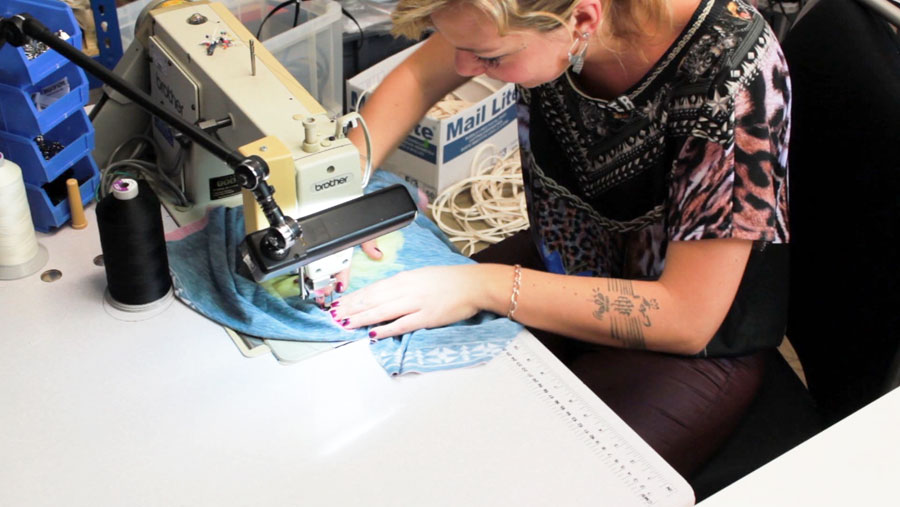
Lastly, we have to hem the fabric, which means rounding off the edges in a neat and professional way. I use cover stitch for sleeve, hem and neck finishes, but at home you can simply overlock the edge (or a zigzag stitch will do it too) it and do a top stitch around the neck to close nicely.
Step 5: Additional Decoration (Optional)
The design I created uses Rock ‘n’ Rolla studs as decoration. You might want to use a fringe trim, cuts on the sides or even some beading work to give your t-shirt an extra edge.
And there you go, you’re all done! Check out your awesome new t-shirt in the mirror and if it’s a beautiful day, why not try it on in public to see if it catches anyone’s attention? I hope you found this tutorial helpful and make sure you watch the video before getting started.